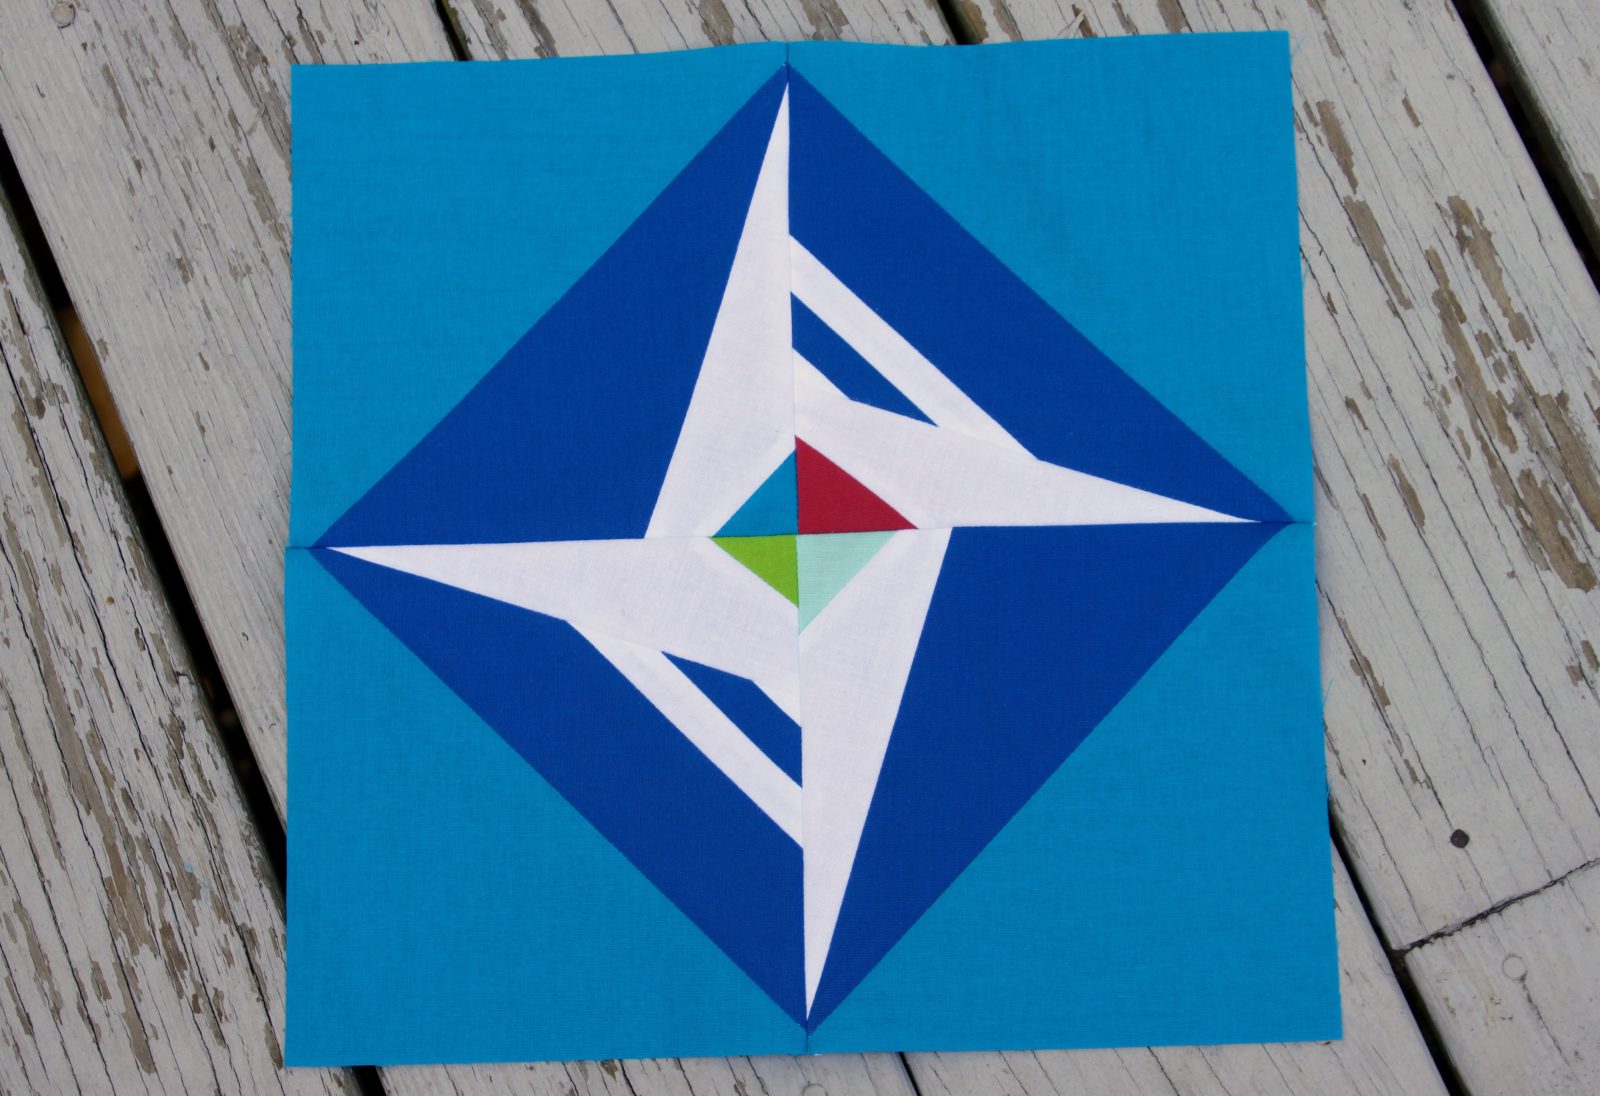
 Thanks for joining me on the 2016 Paintbrush Studio New Block Blog Hop! This hop’s palette (from their new line of solids Painter’s Palette) was inspired by an ocean sunset, and this block takes advantage of that theme using an easy-peasy “hourglass” foundation — with a twist! Let’s get started!
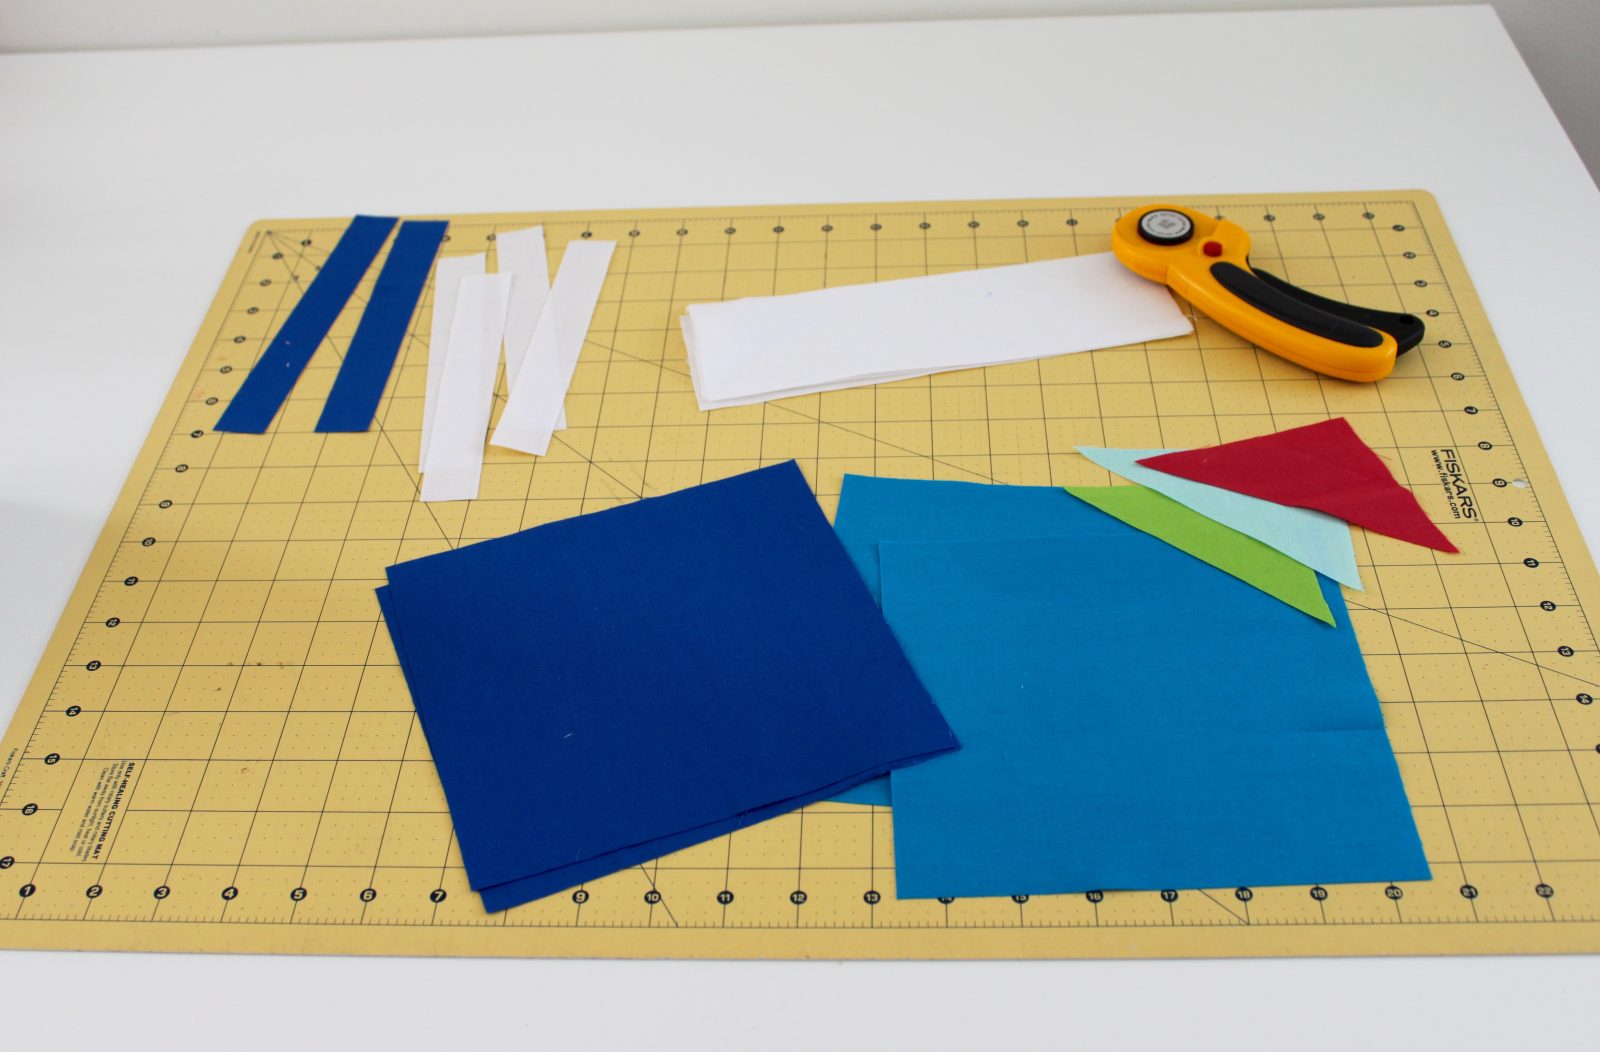
Supplies:
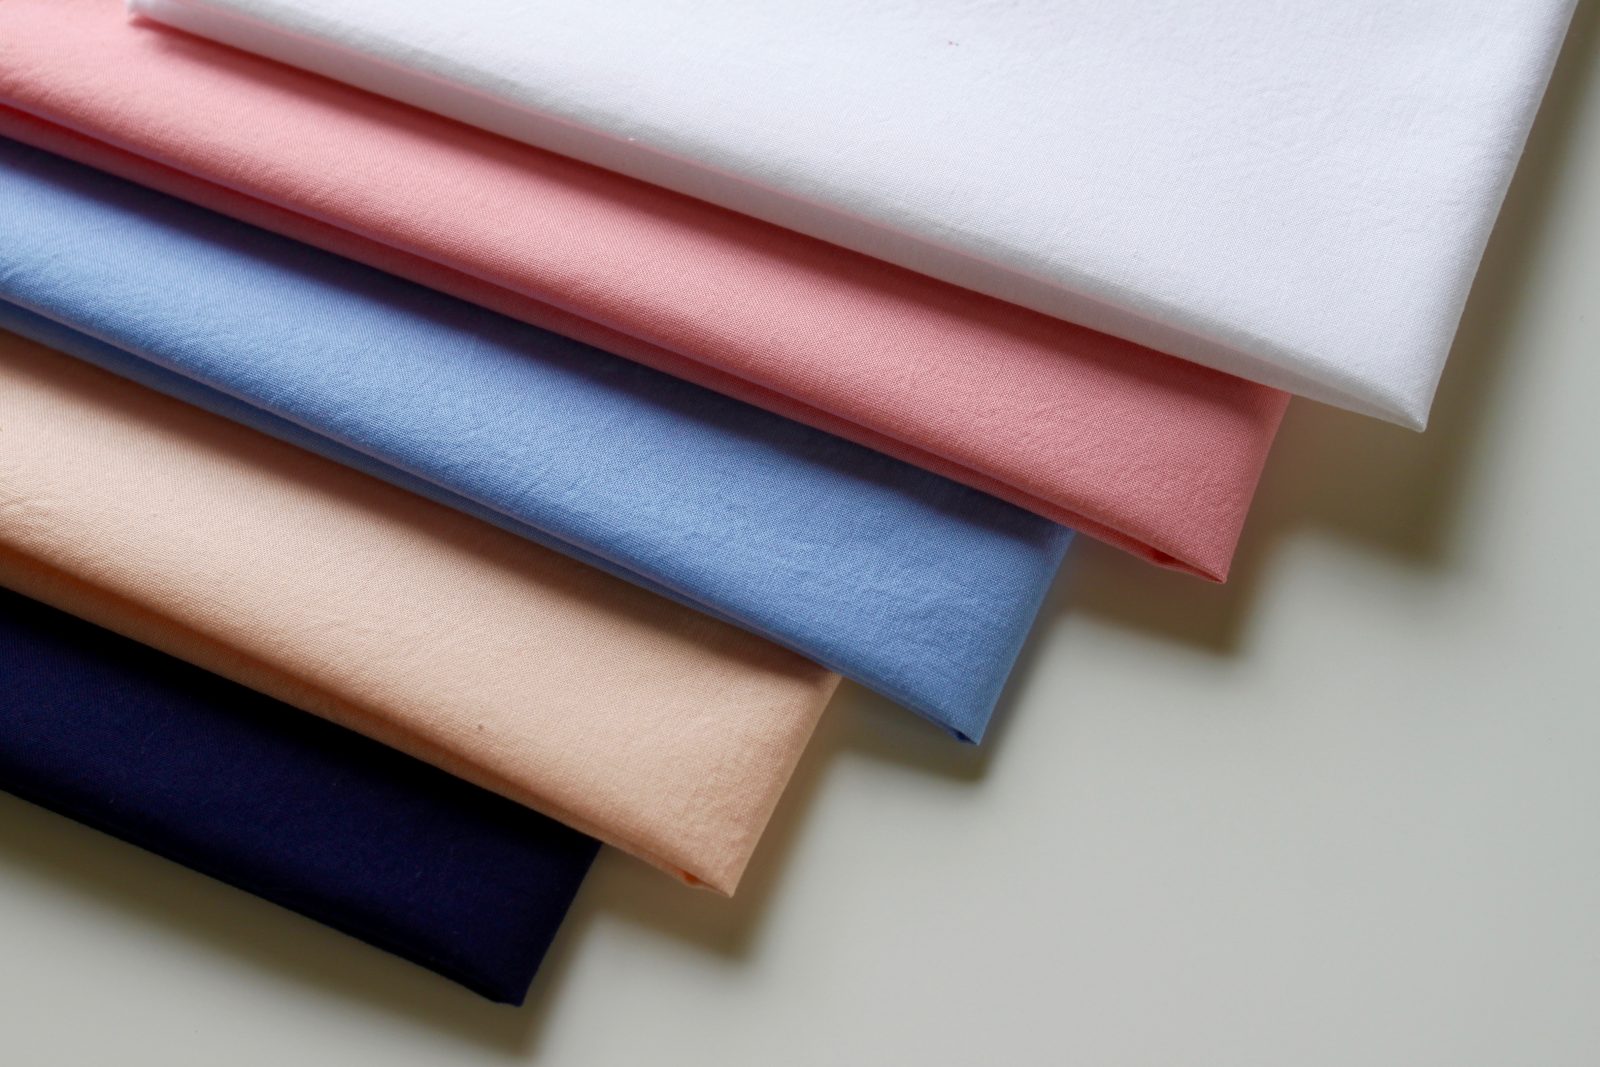 (1) 7 1/4″ square in Coral
(1) 7 1/4″ square in Daydream
(1) 7 1/4″ square in Peach
(1) 7 1/4″ square in Midnight
(1) 5 1/2″ square in White
You will also need a rotary cutter, self healing mat, ruler and a pen for marking. All seam allowances are 1/4″. Unfinished block will measure 12 1/2″ square.
The How-To:
Step 1. Make Half-Square Triangles.
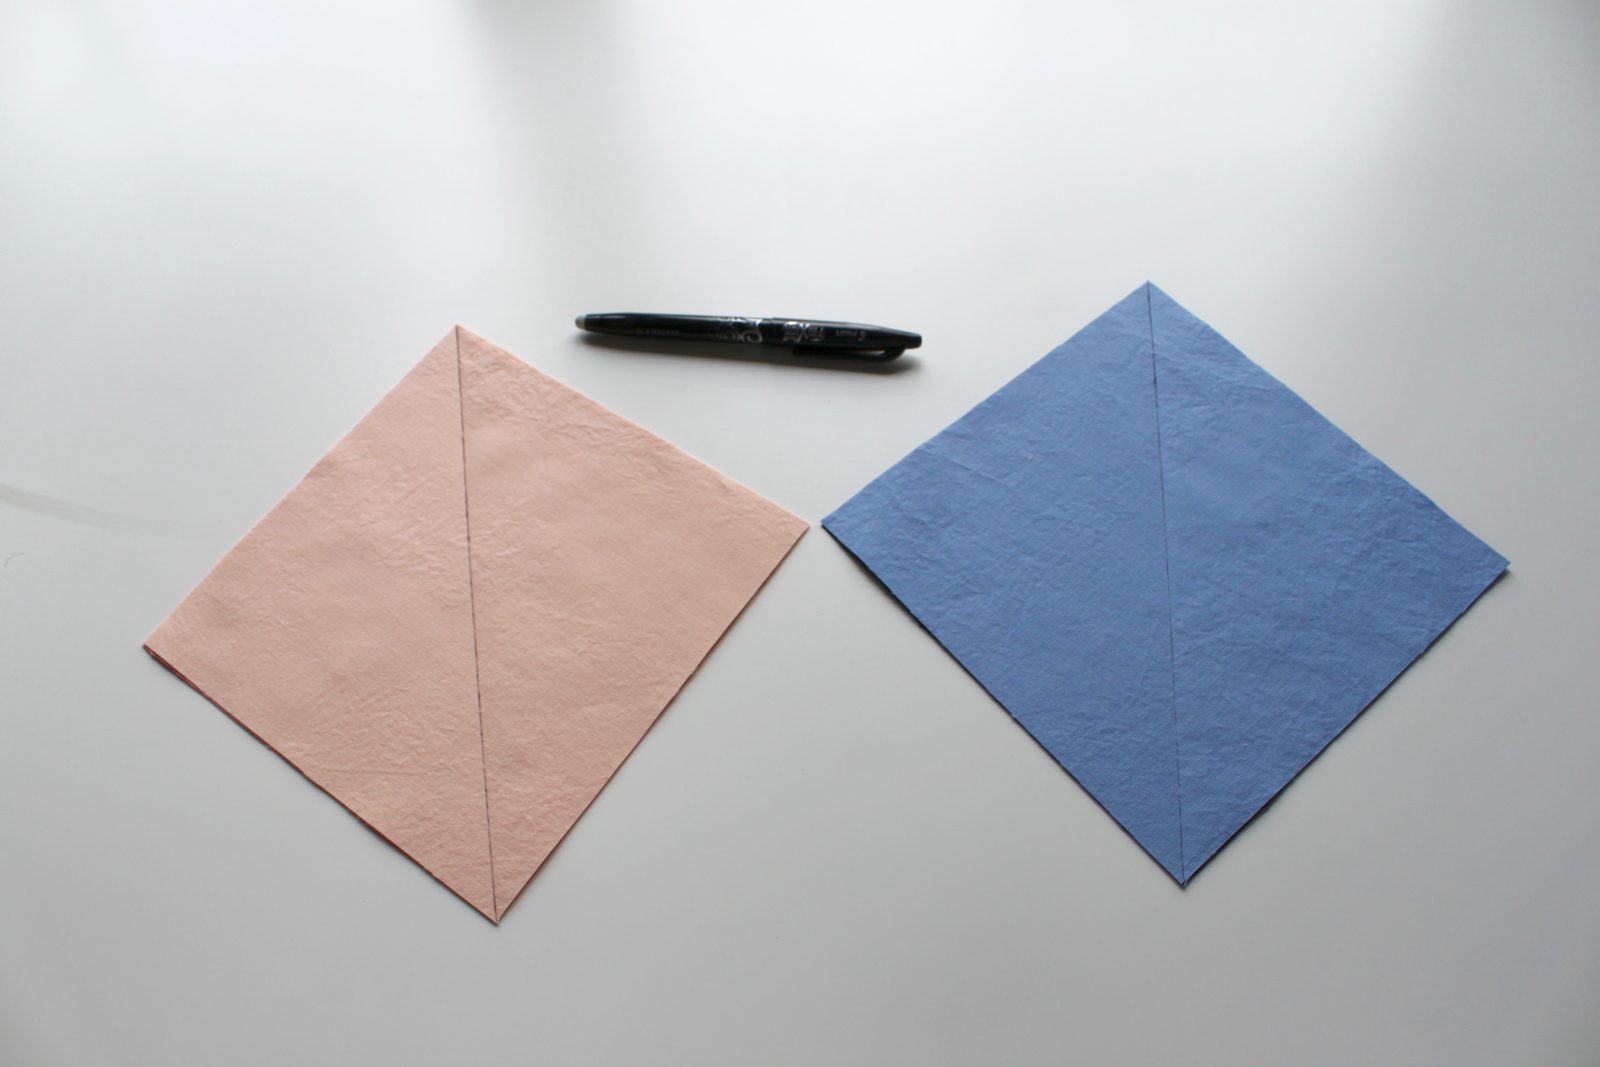 Place the Peach square directly on top of the Coral square (rights sides together). Similarly, place the Daydream square directly on top of the Midnight square. Using your pen, draw a diagonal line from corner to corner on the back side of the Peach and Daydream squares.
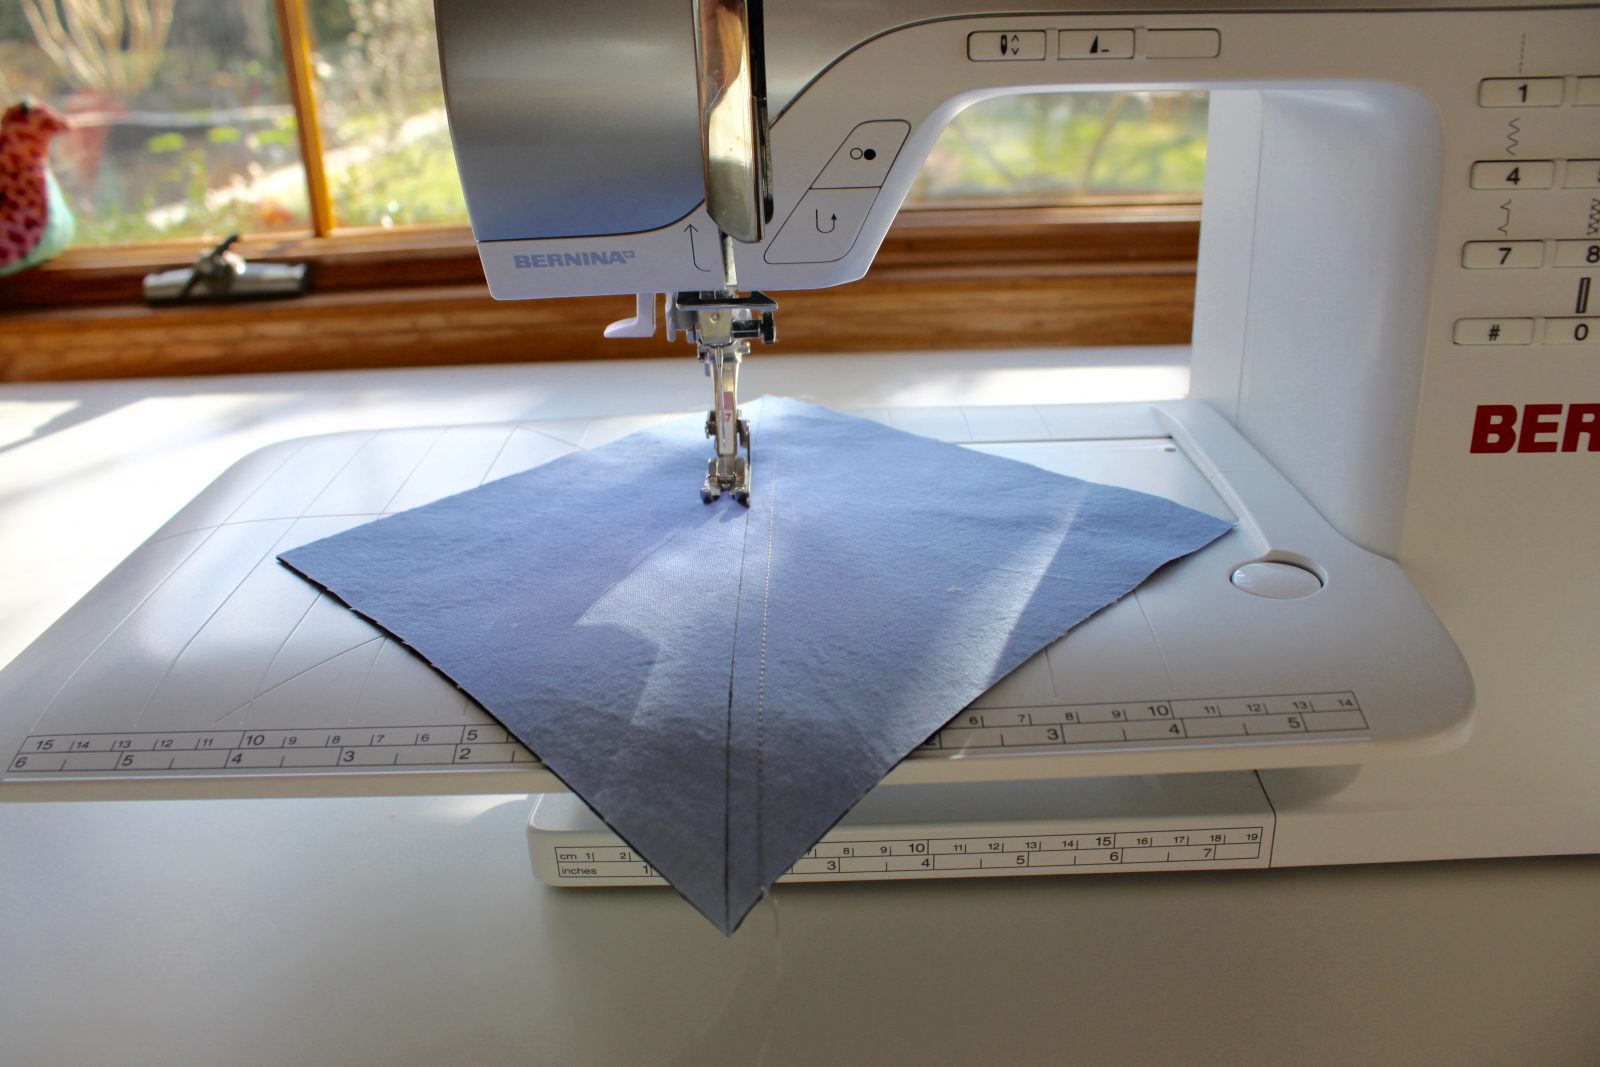
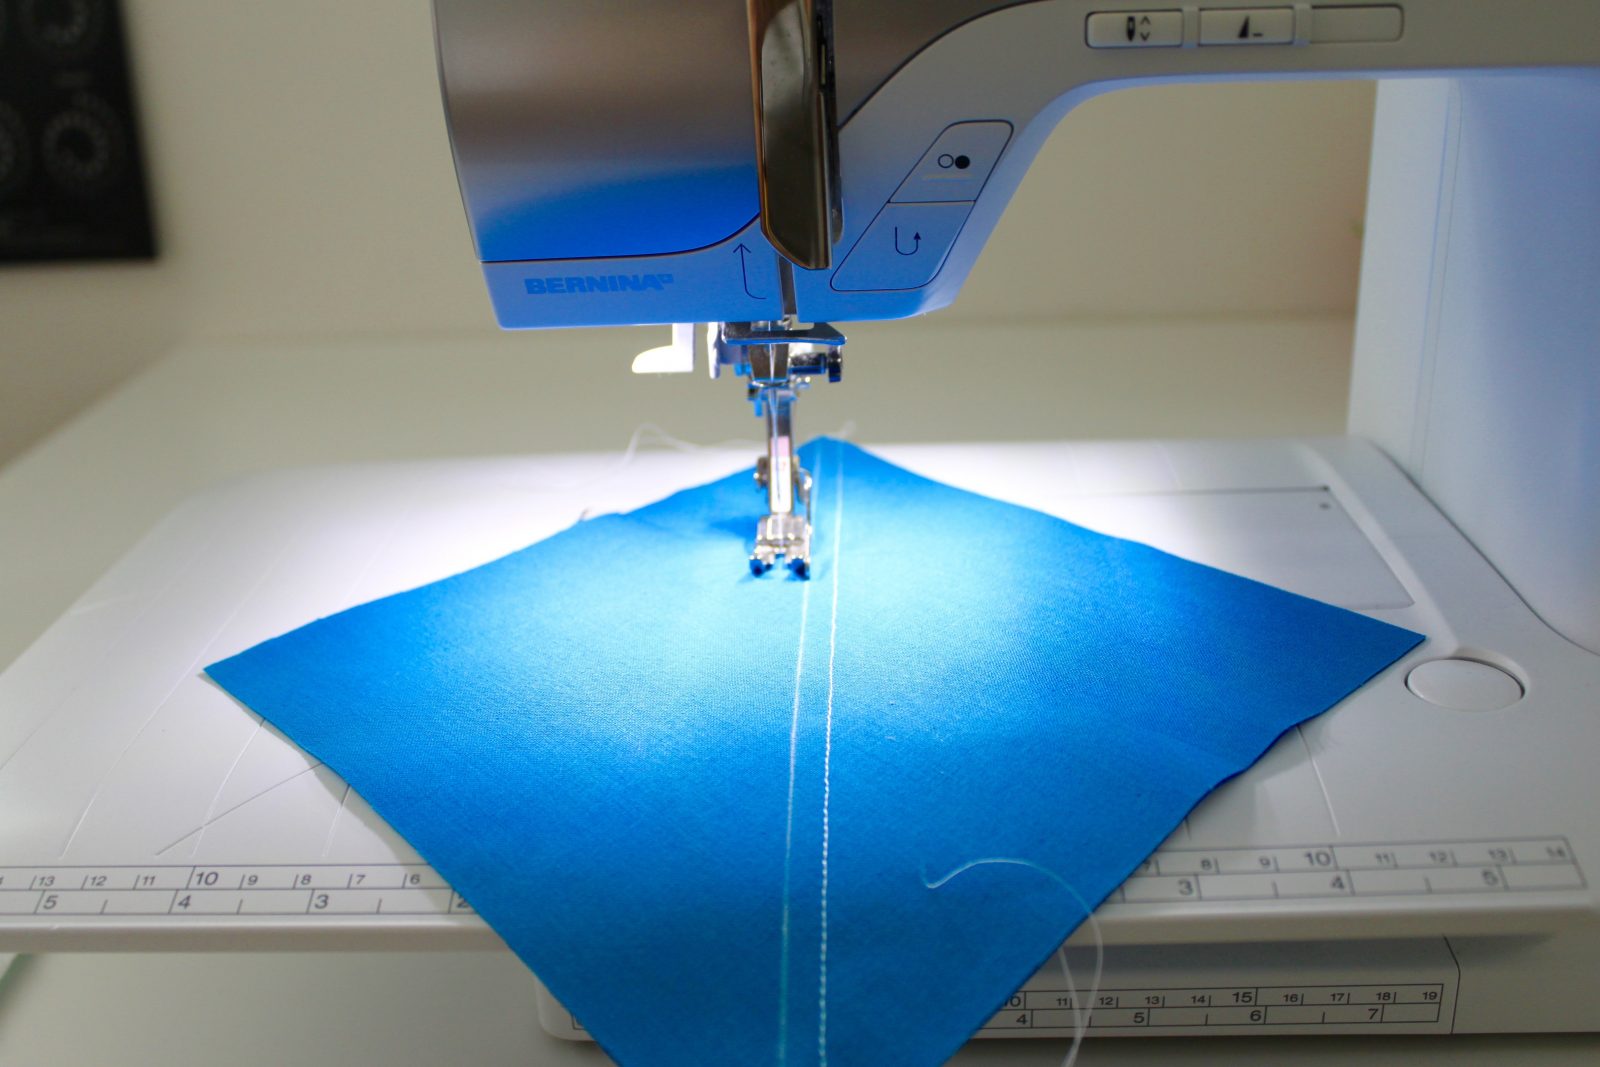
Sew a seam 1/4″ on either side of the marked diagonal line. Repeat for both squares.
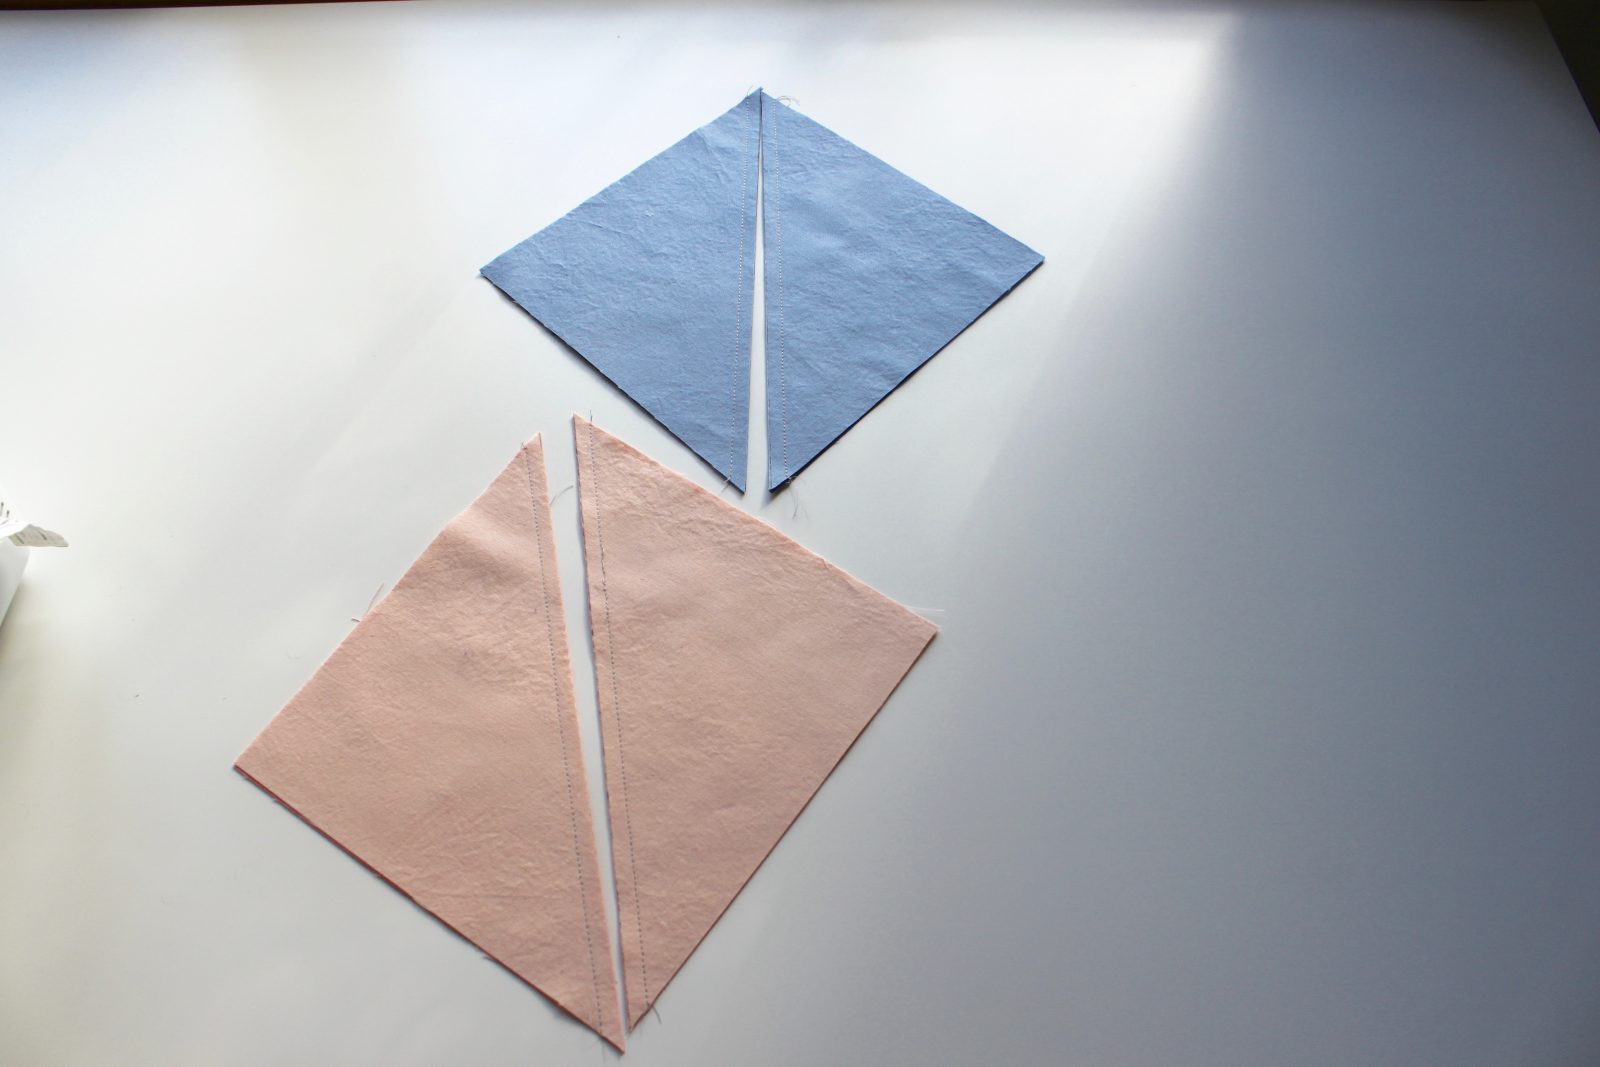
Cut each of the sewn pairs on the marked line.
Press the seams open.
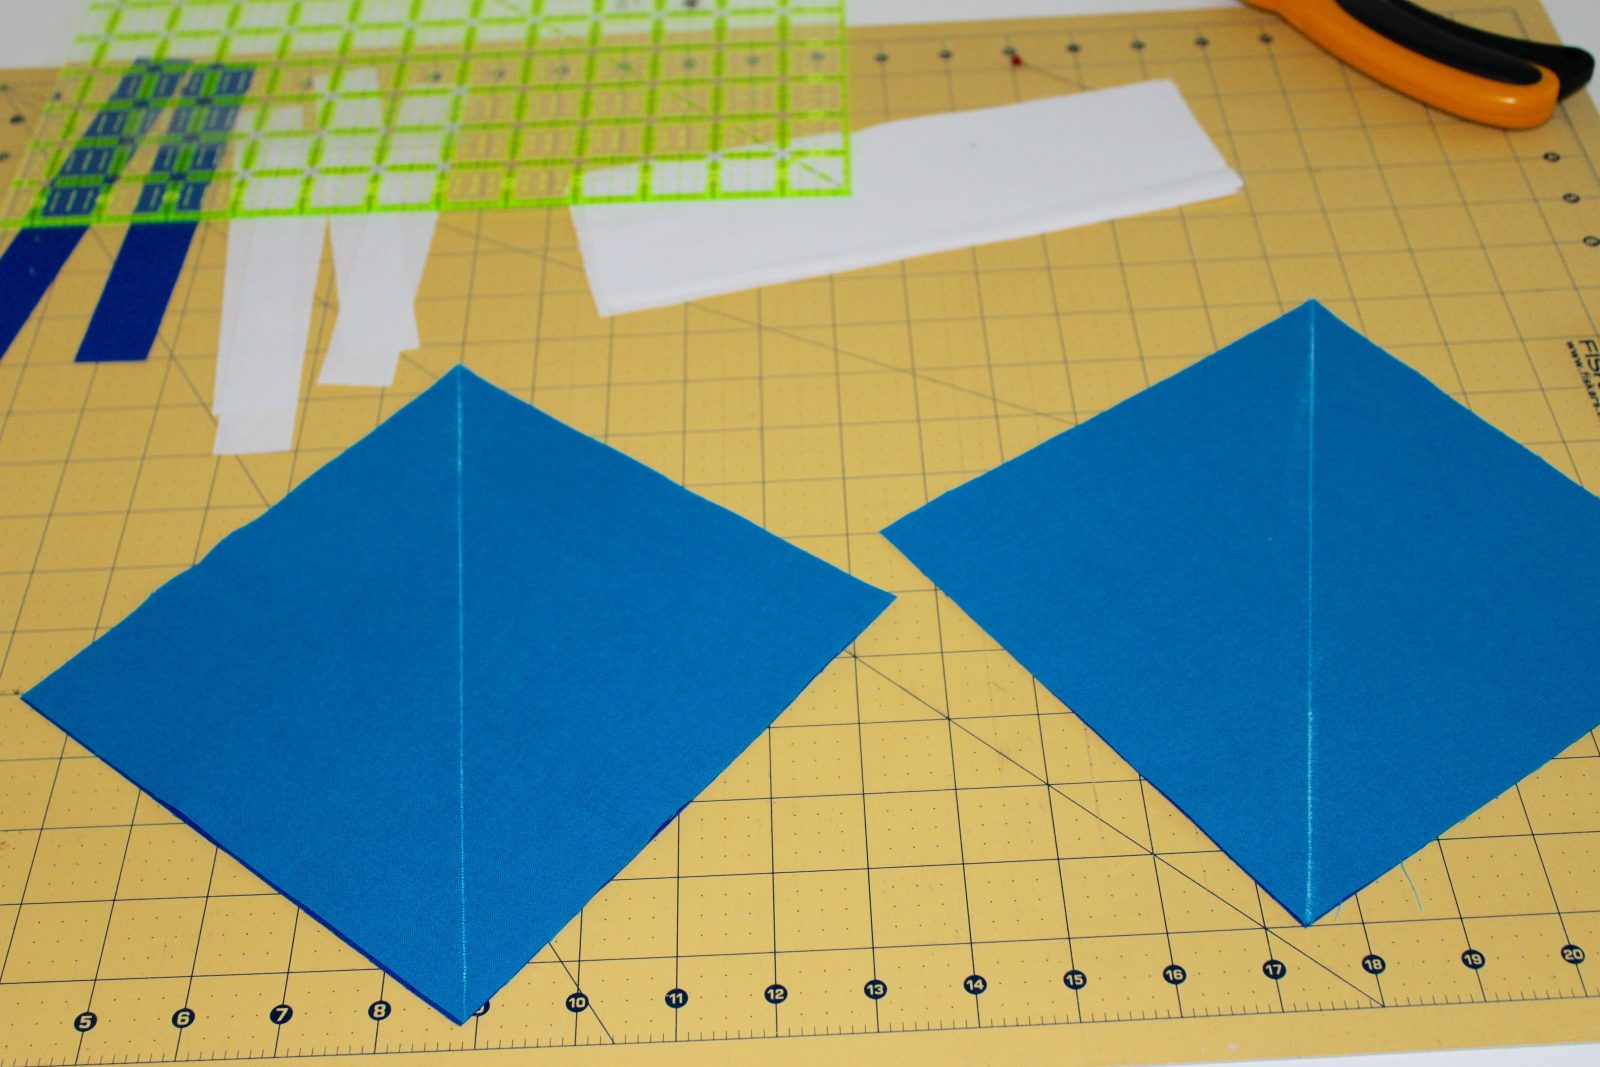
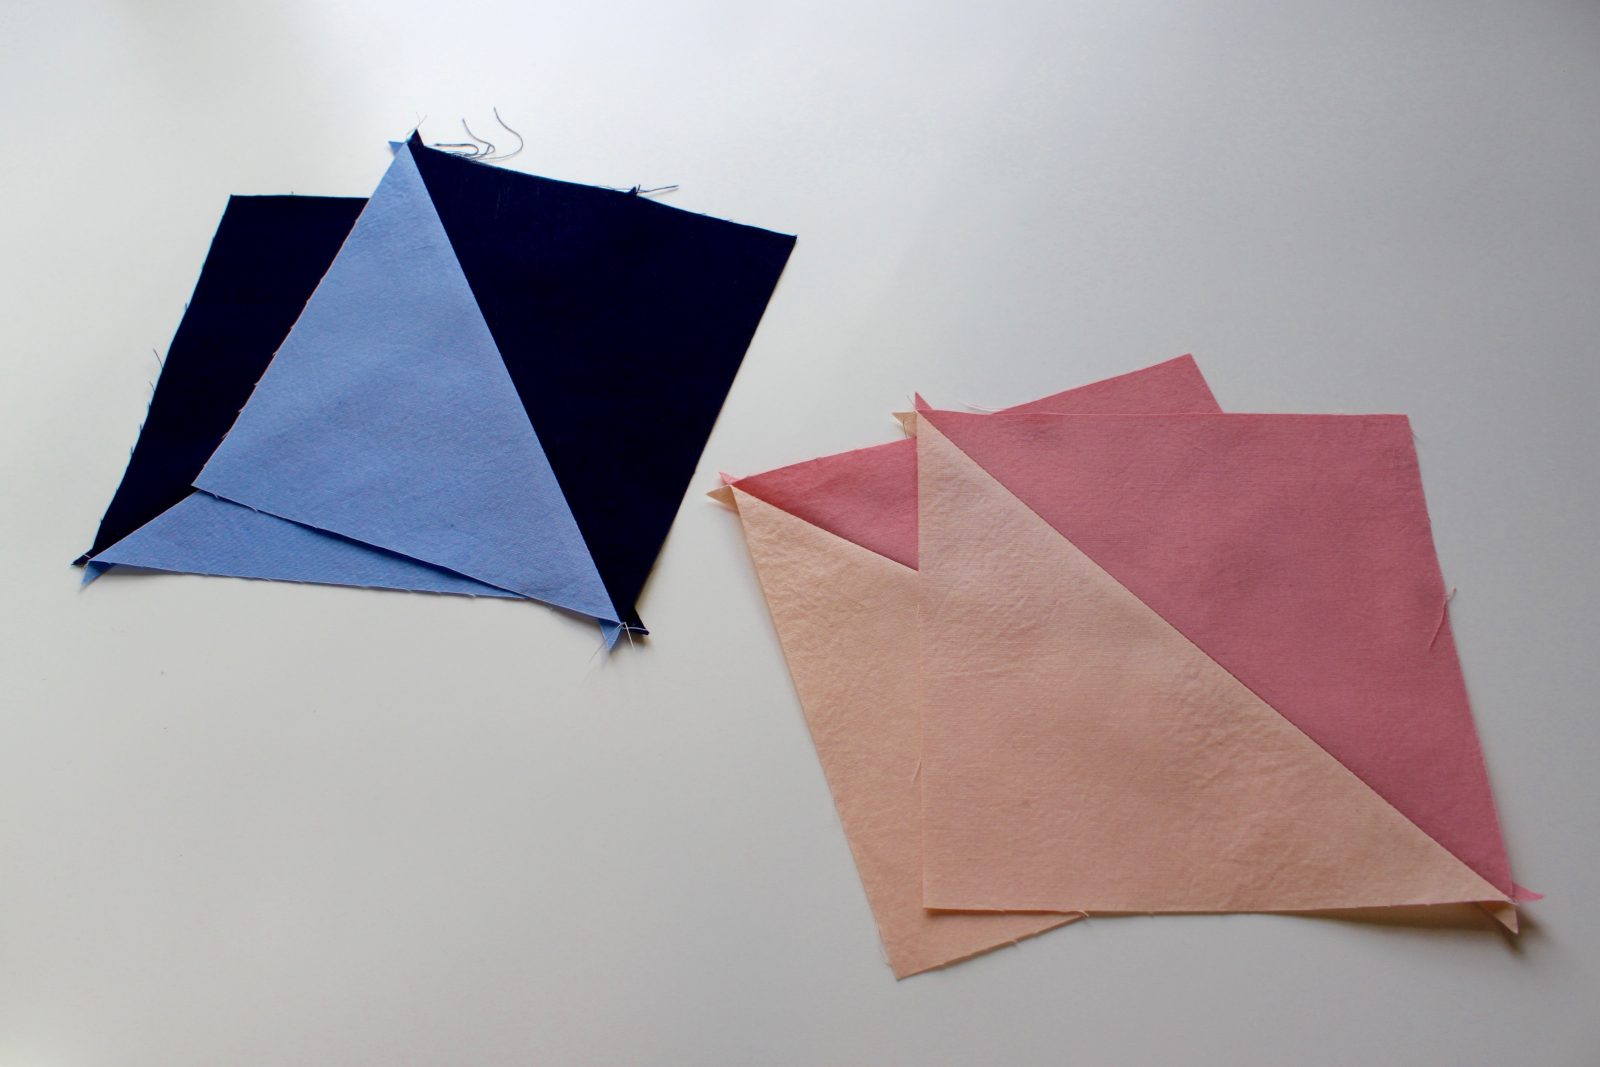
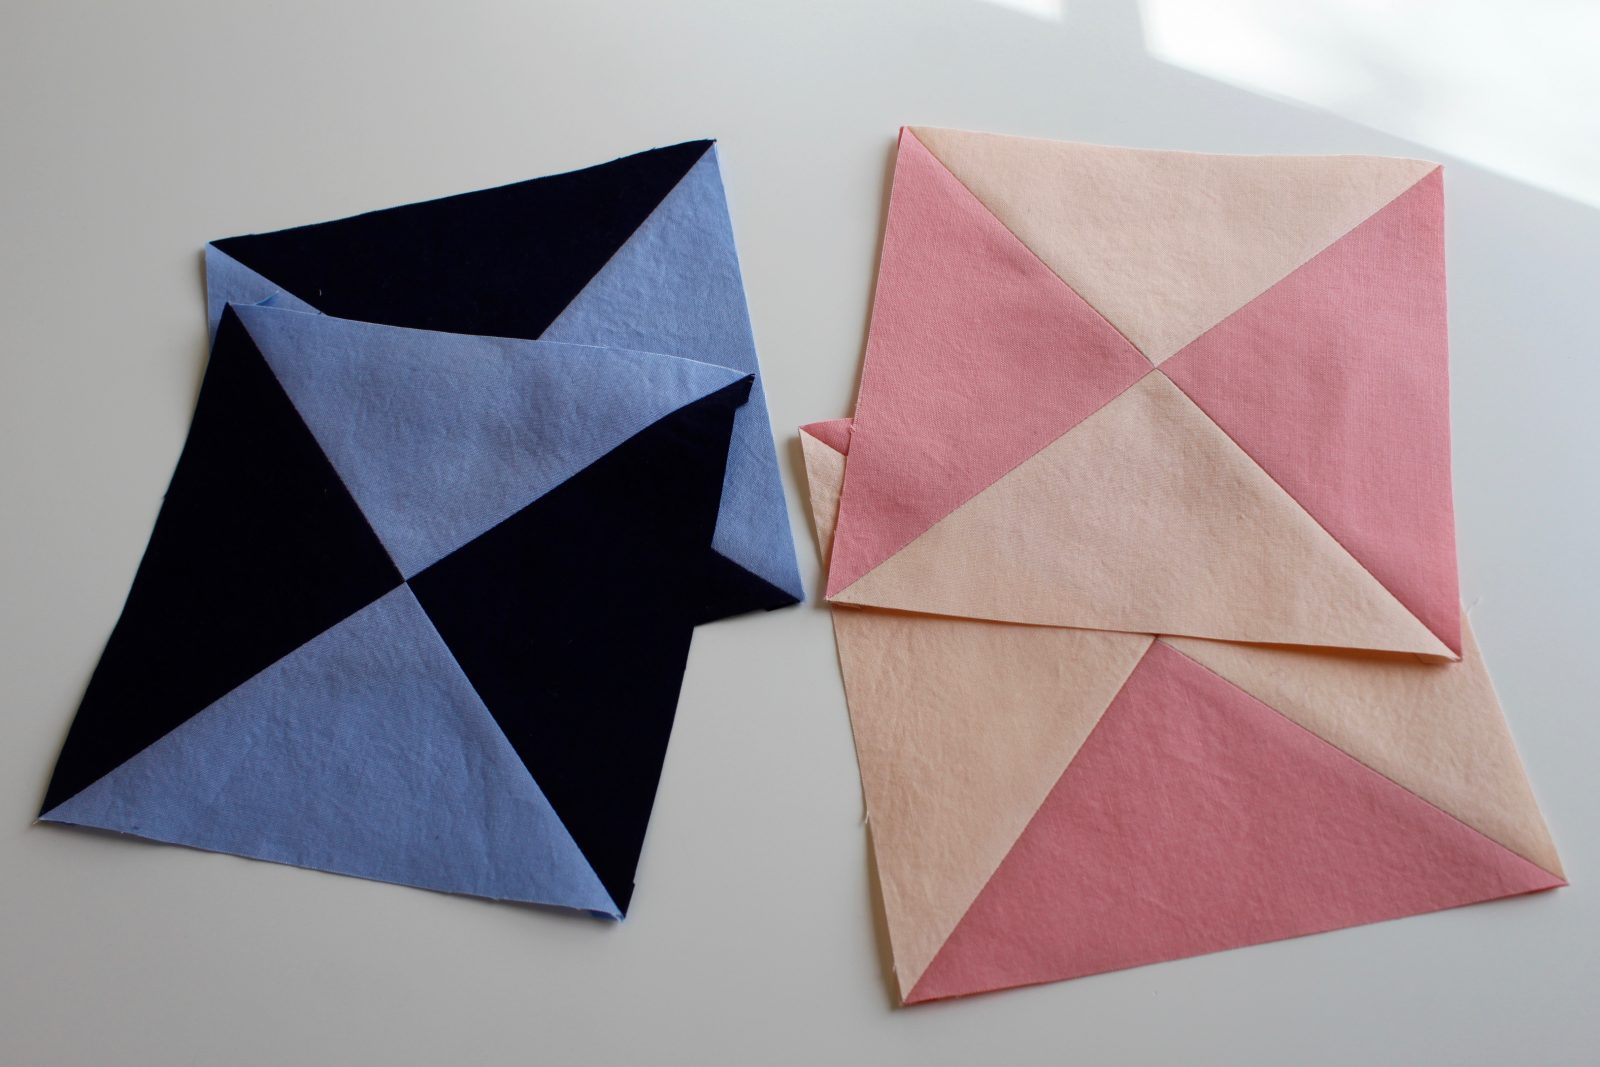
Step 2. Make the Hourglasses.
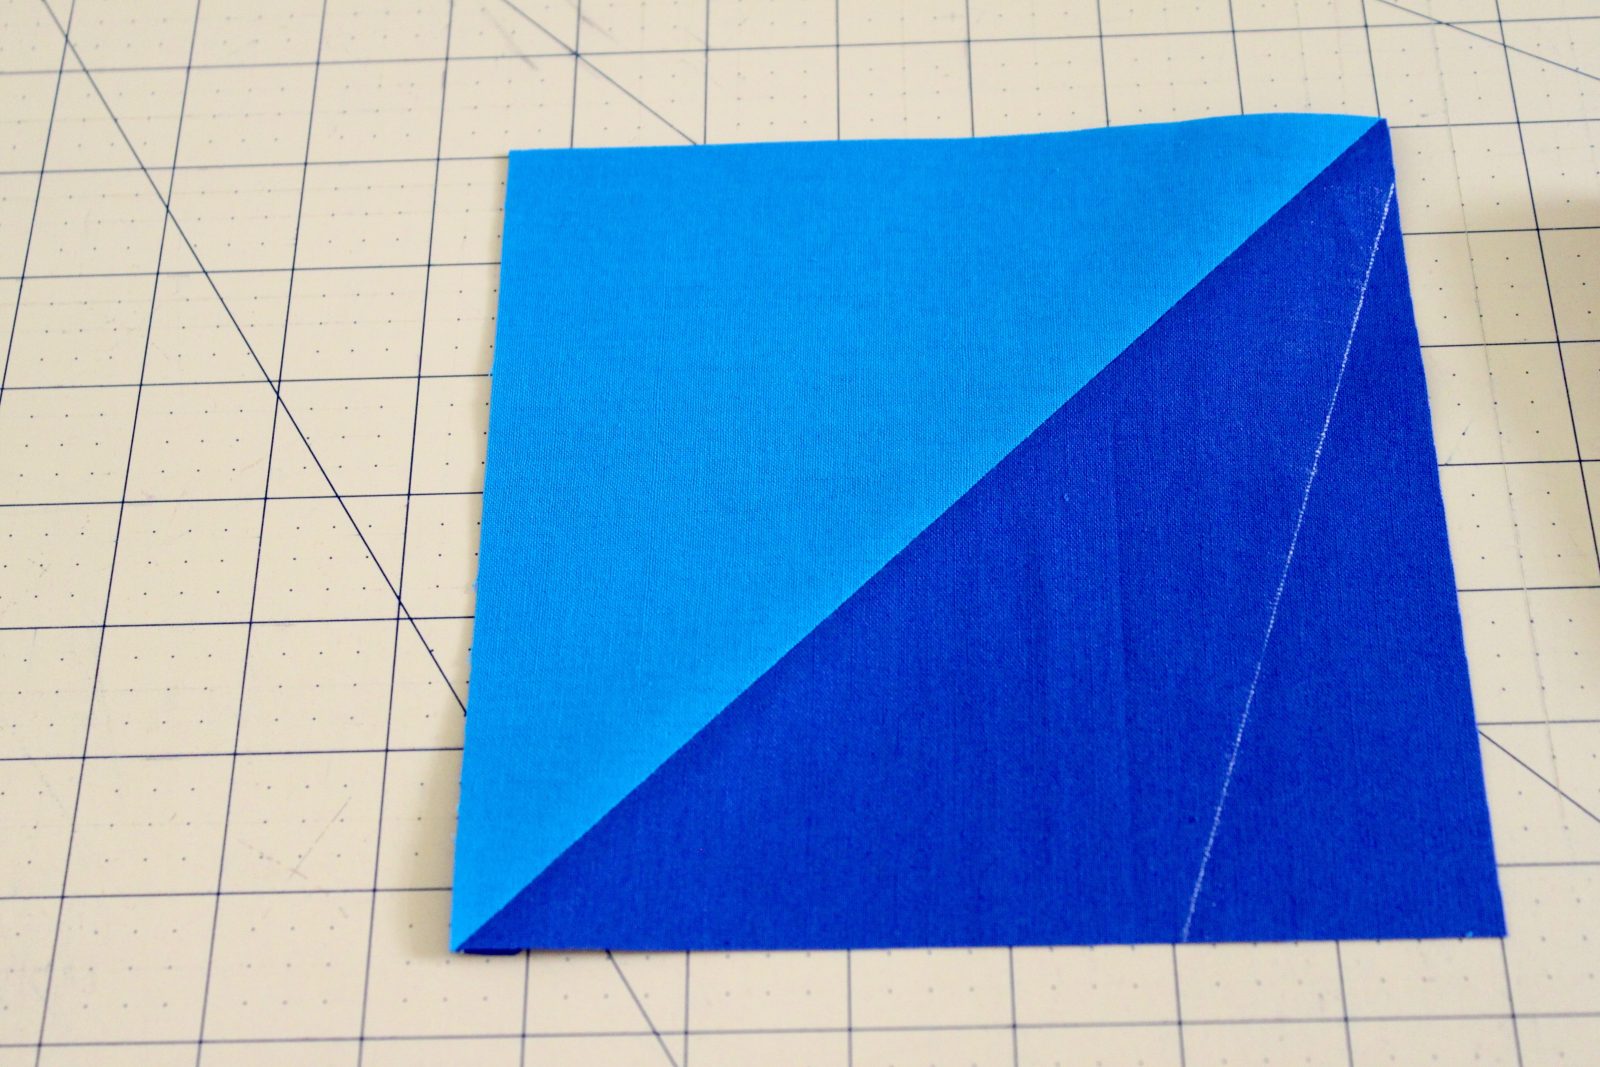
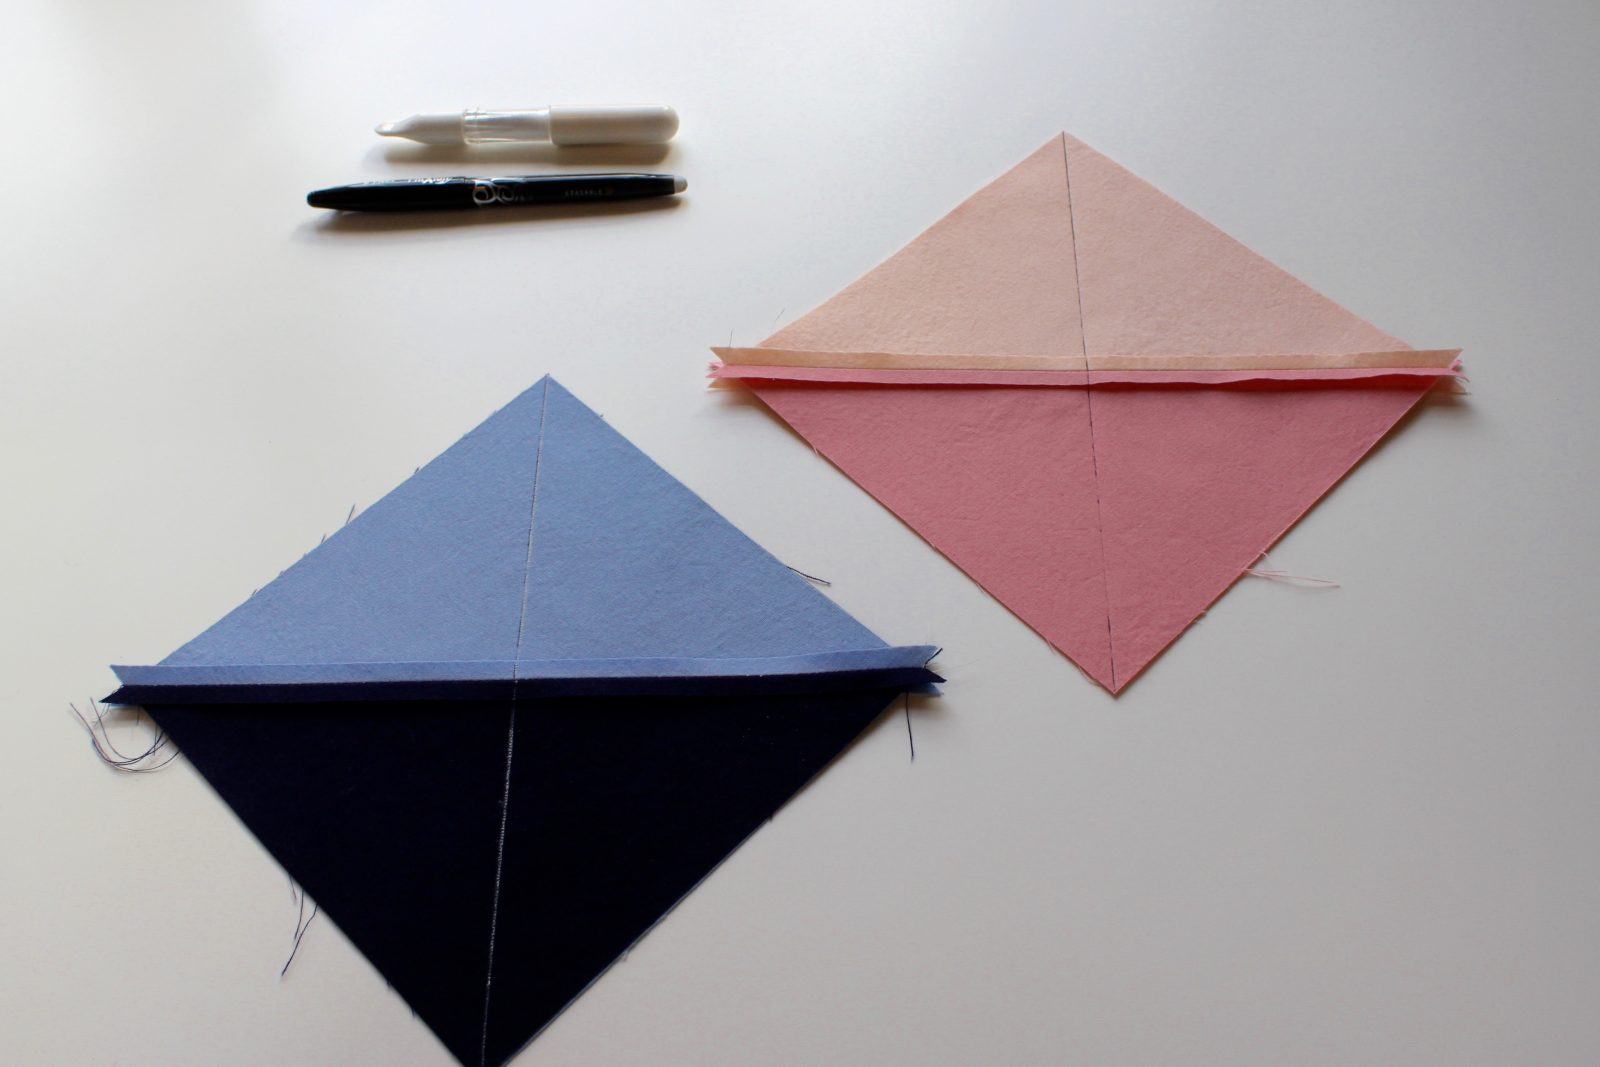 On the back of one of the half-square triangles (in each color), draw a diagonal line between the corners that are perpendicular to the seam.
Place the blocks right sides together making sure to match opposing colors on top of each other. (i.e., Peach will be on top of Coral/Coral on top of Peach. Midnight on top of Daydream/Daydream on top of Midnight).
 Sew a seam 1/4″ on either side of the marked diagonal line.
 Cut on the diagonal line.
Press seams open and square up each block to 6 1/2″.
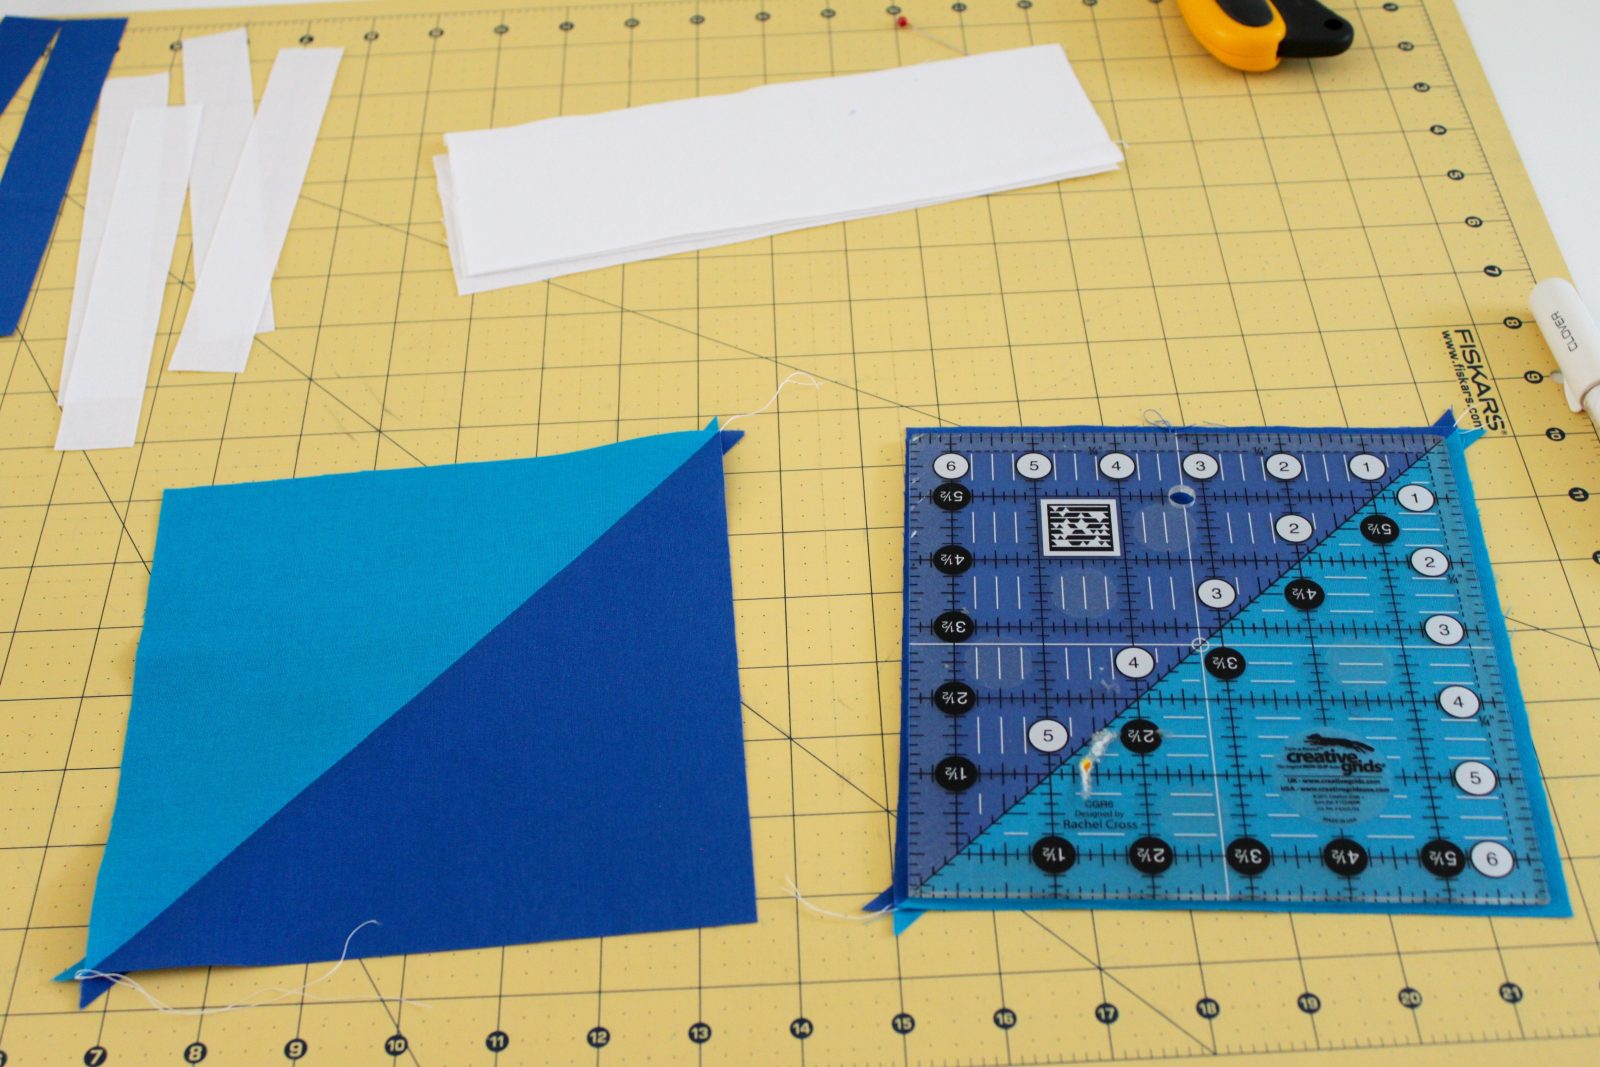
Step 3: Mark and Slice the hourglasses.
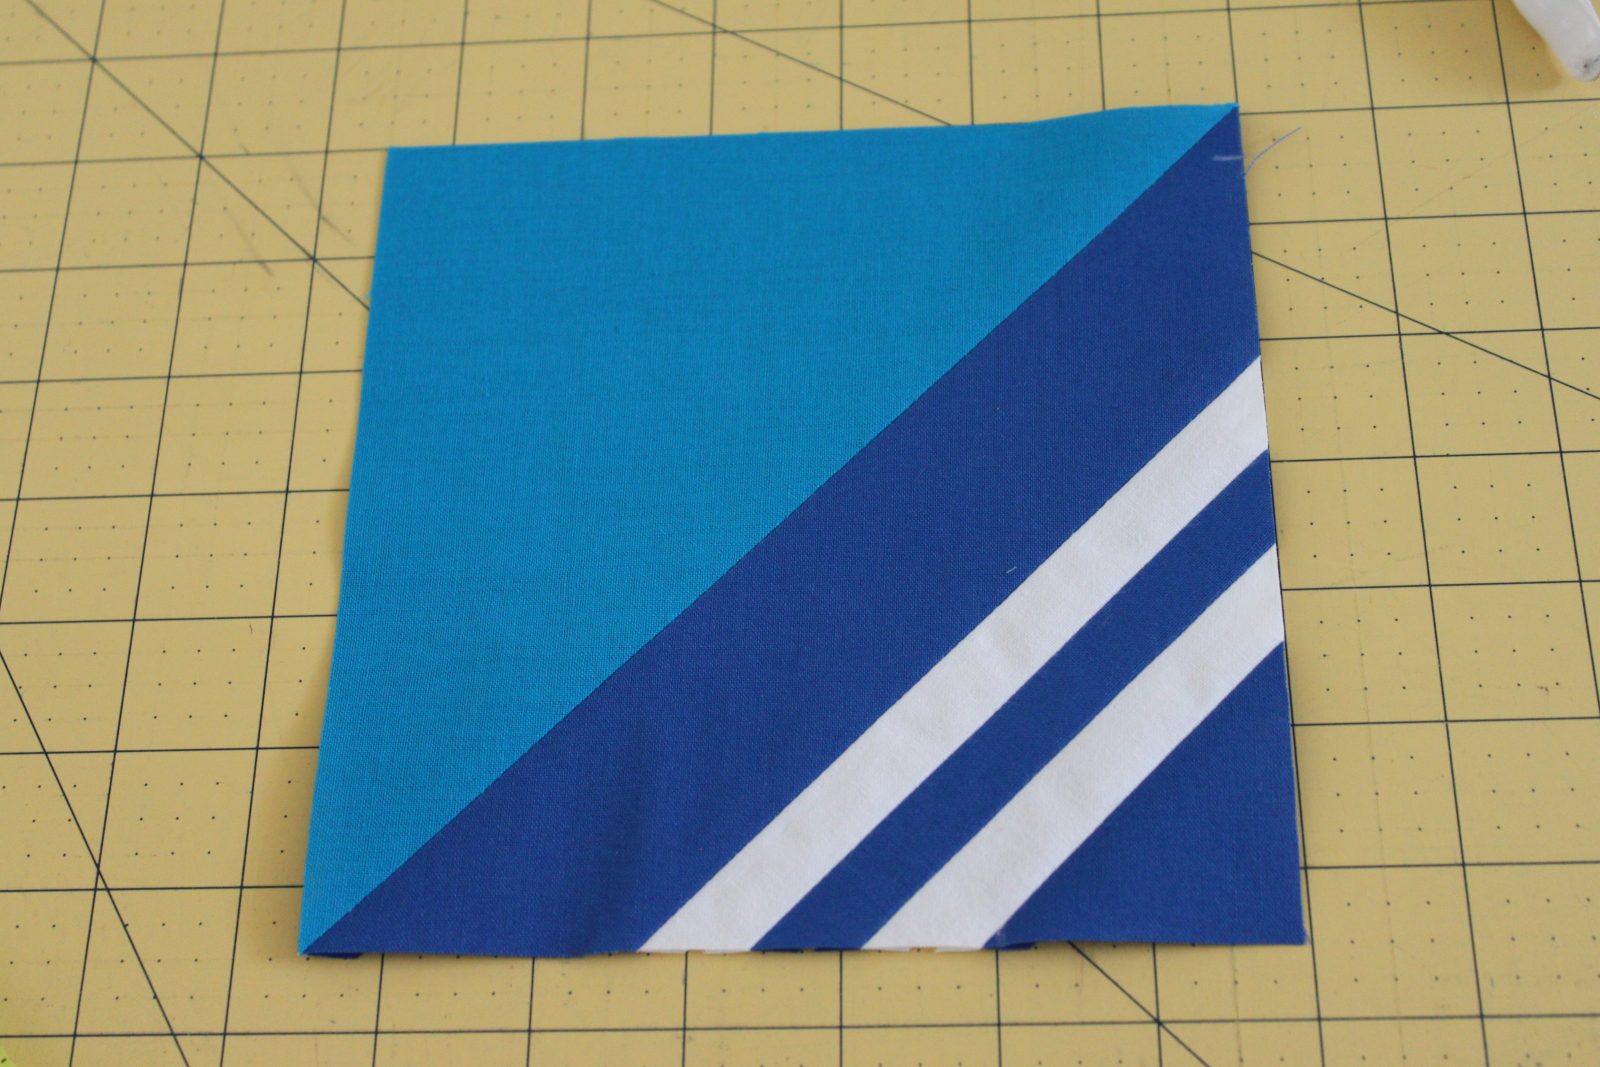
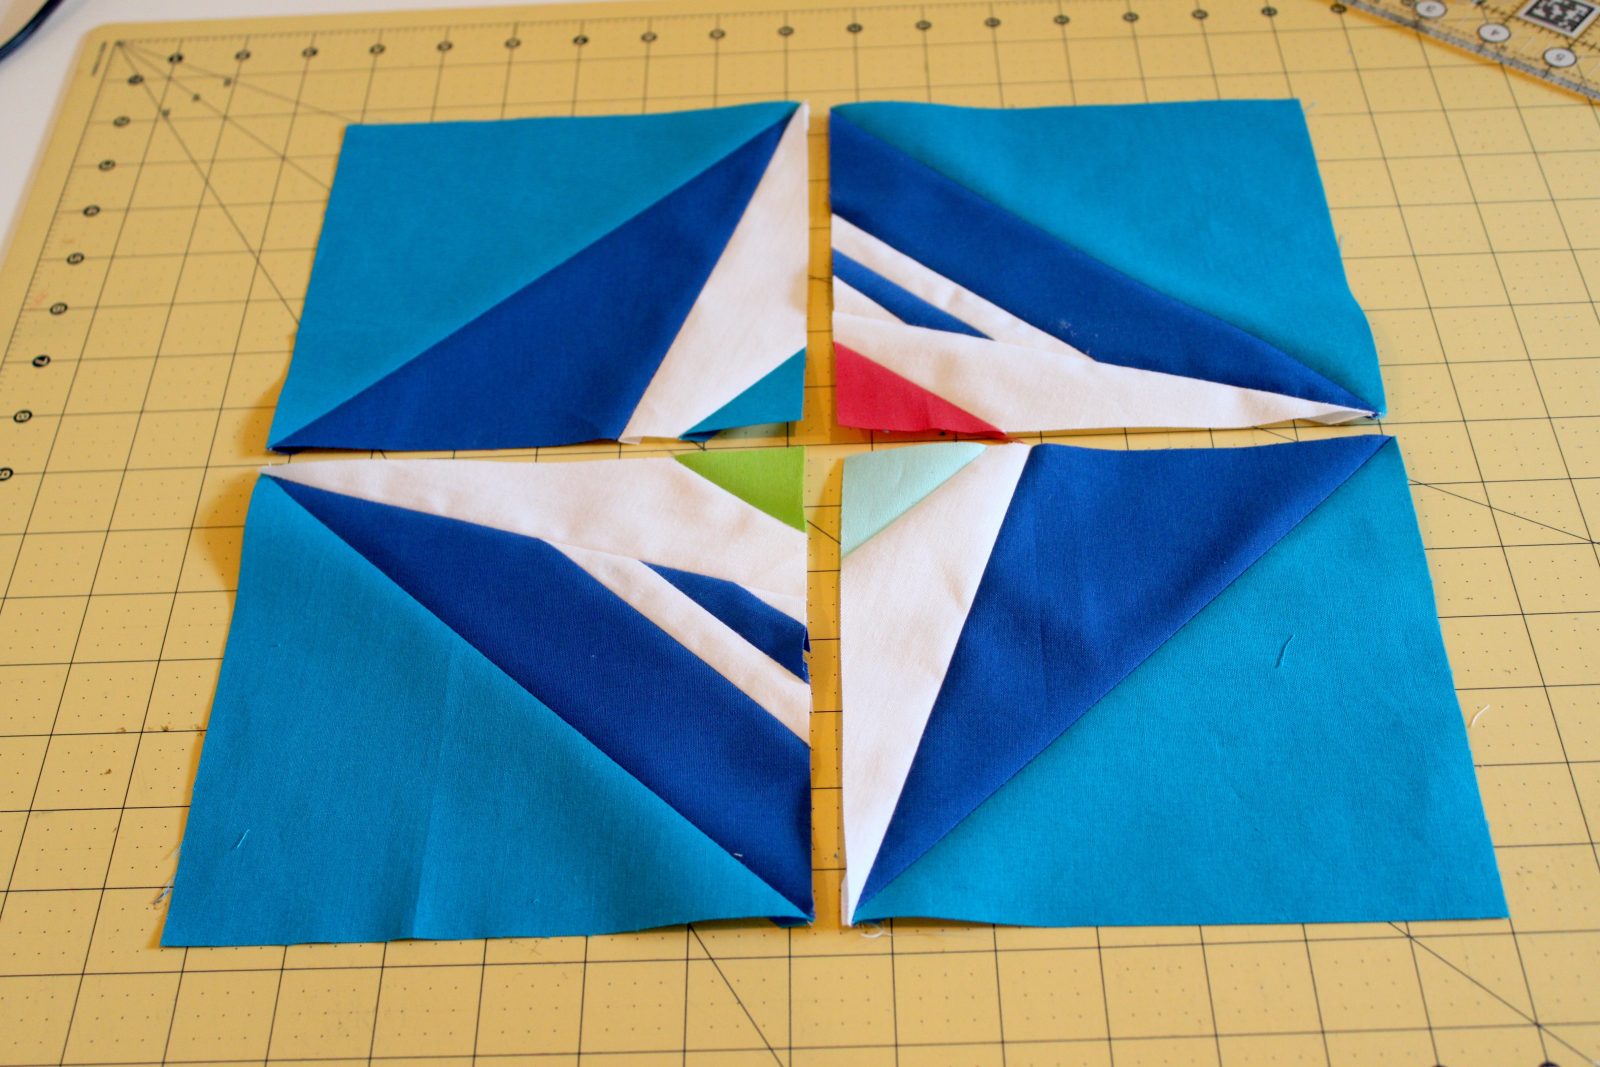
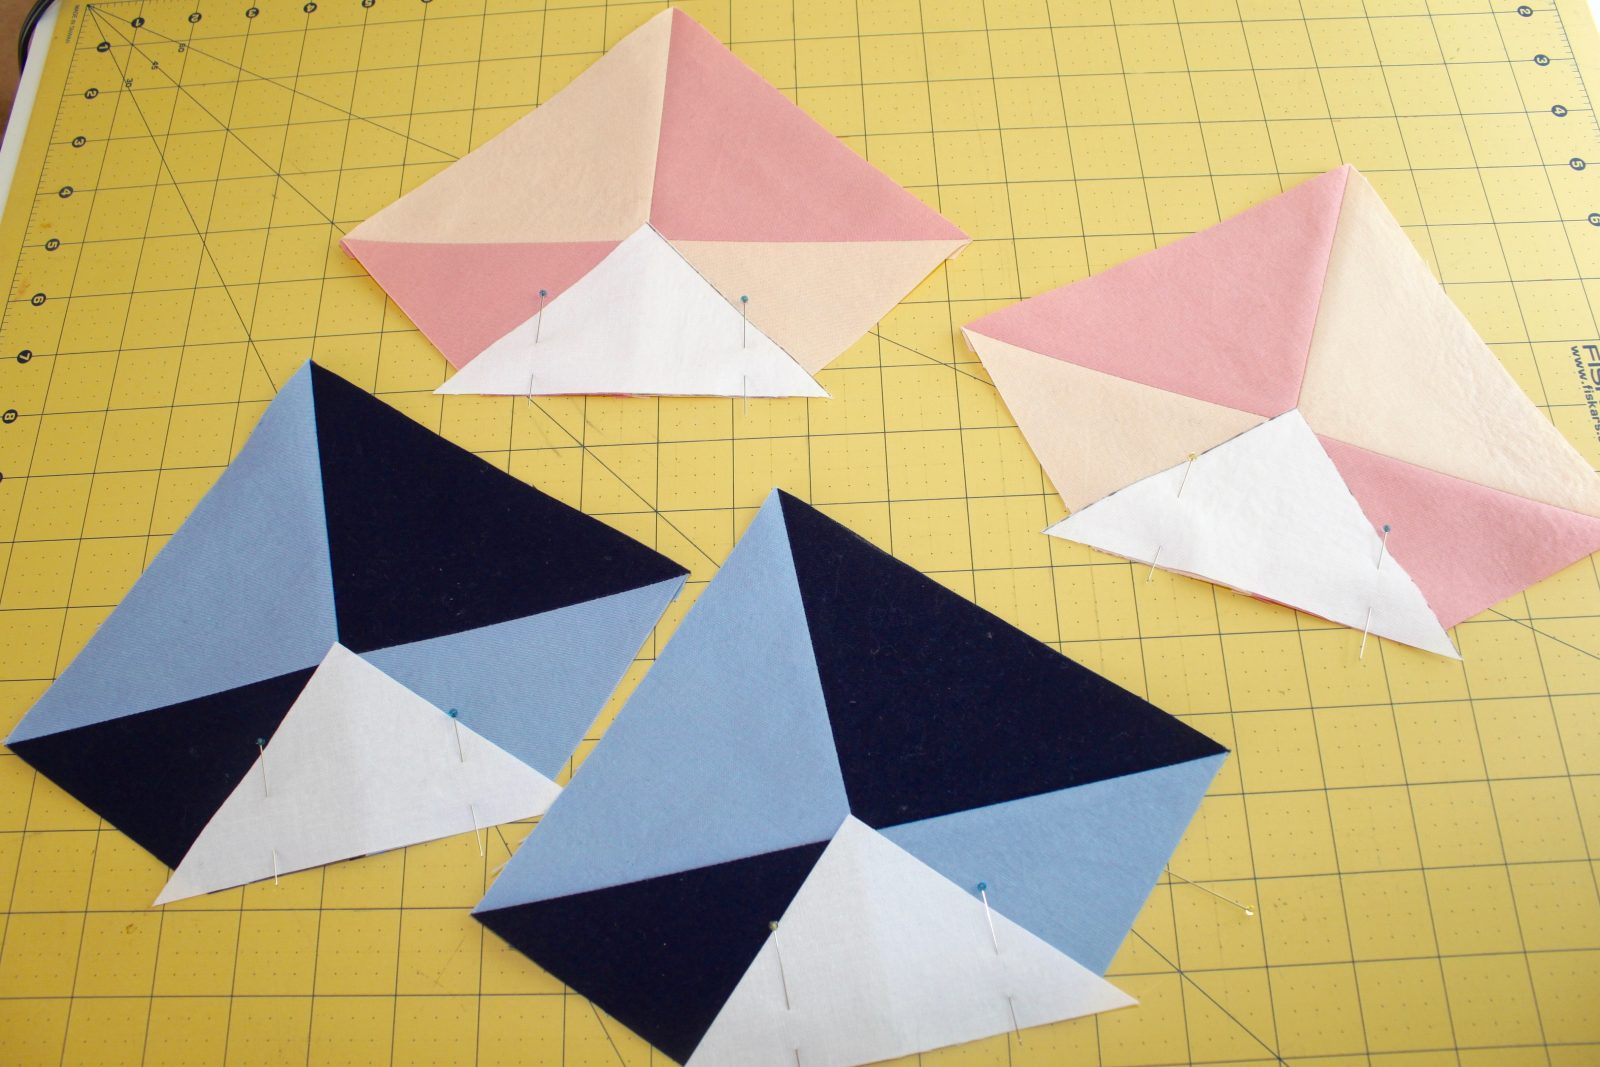
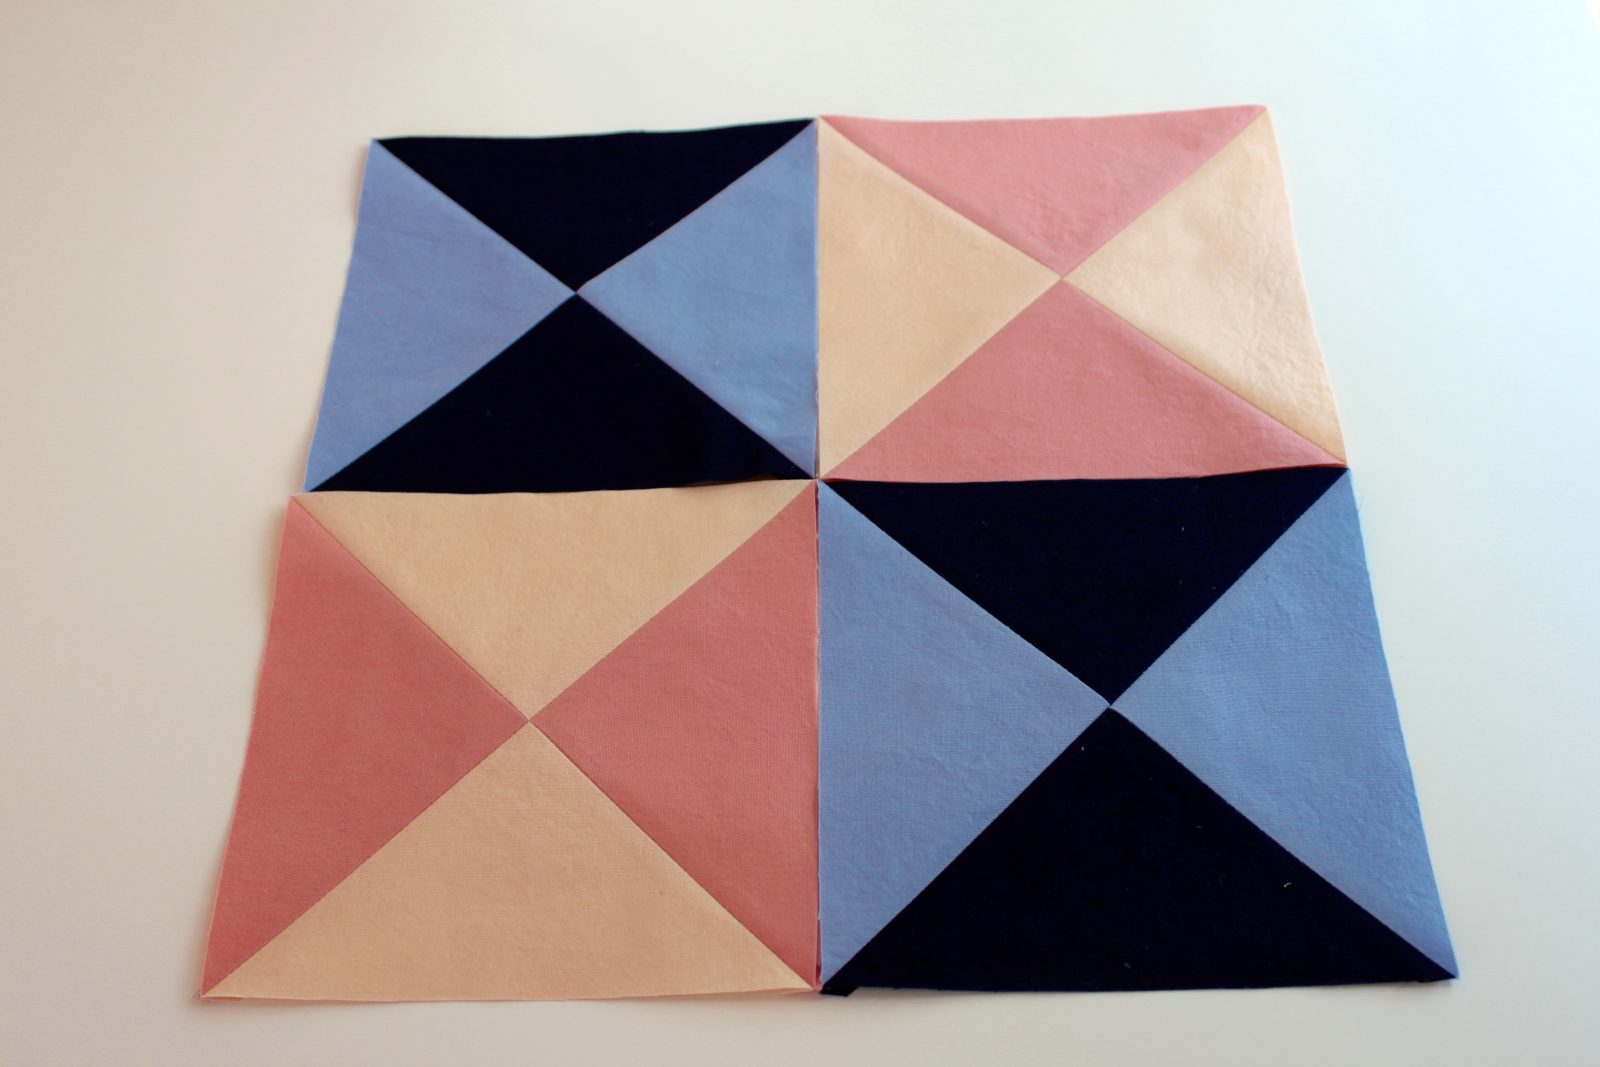 Place your hourglass blocks on the cutting mat in an arrangement that is pleasing to you. In my case, the Midnight triangles are on the top and bottom, and the Coral/Peach blocks are perpendicular to one another.
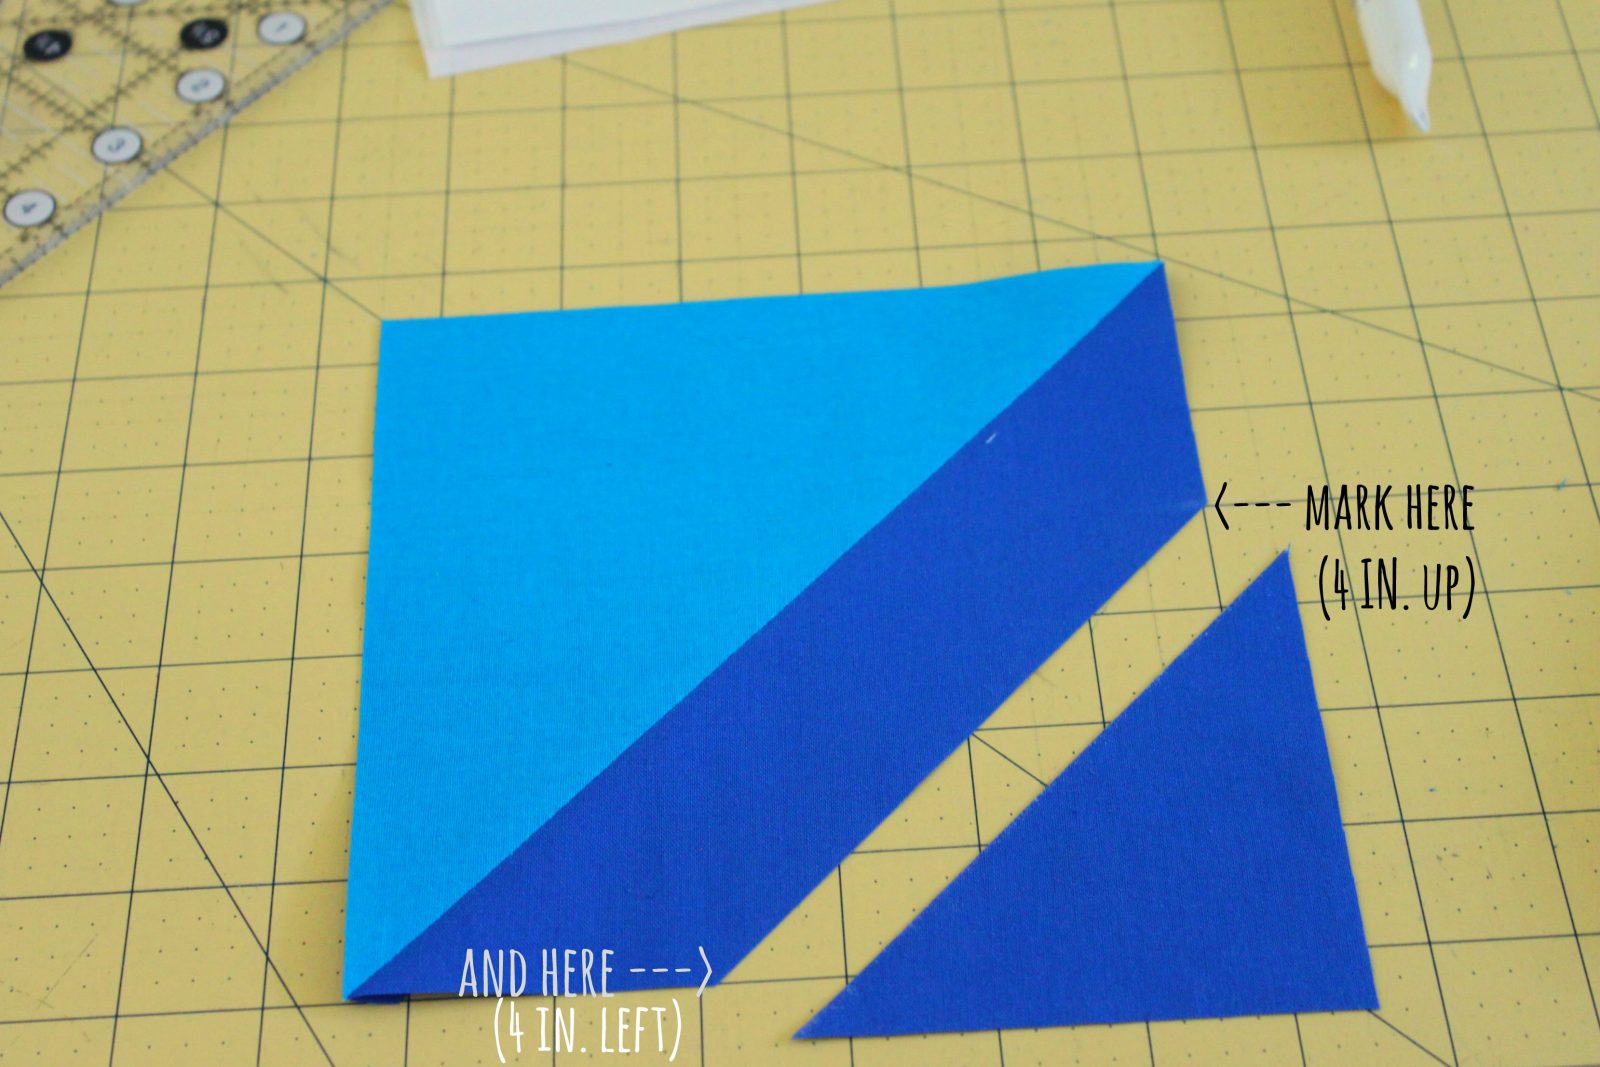
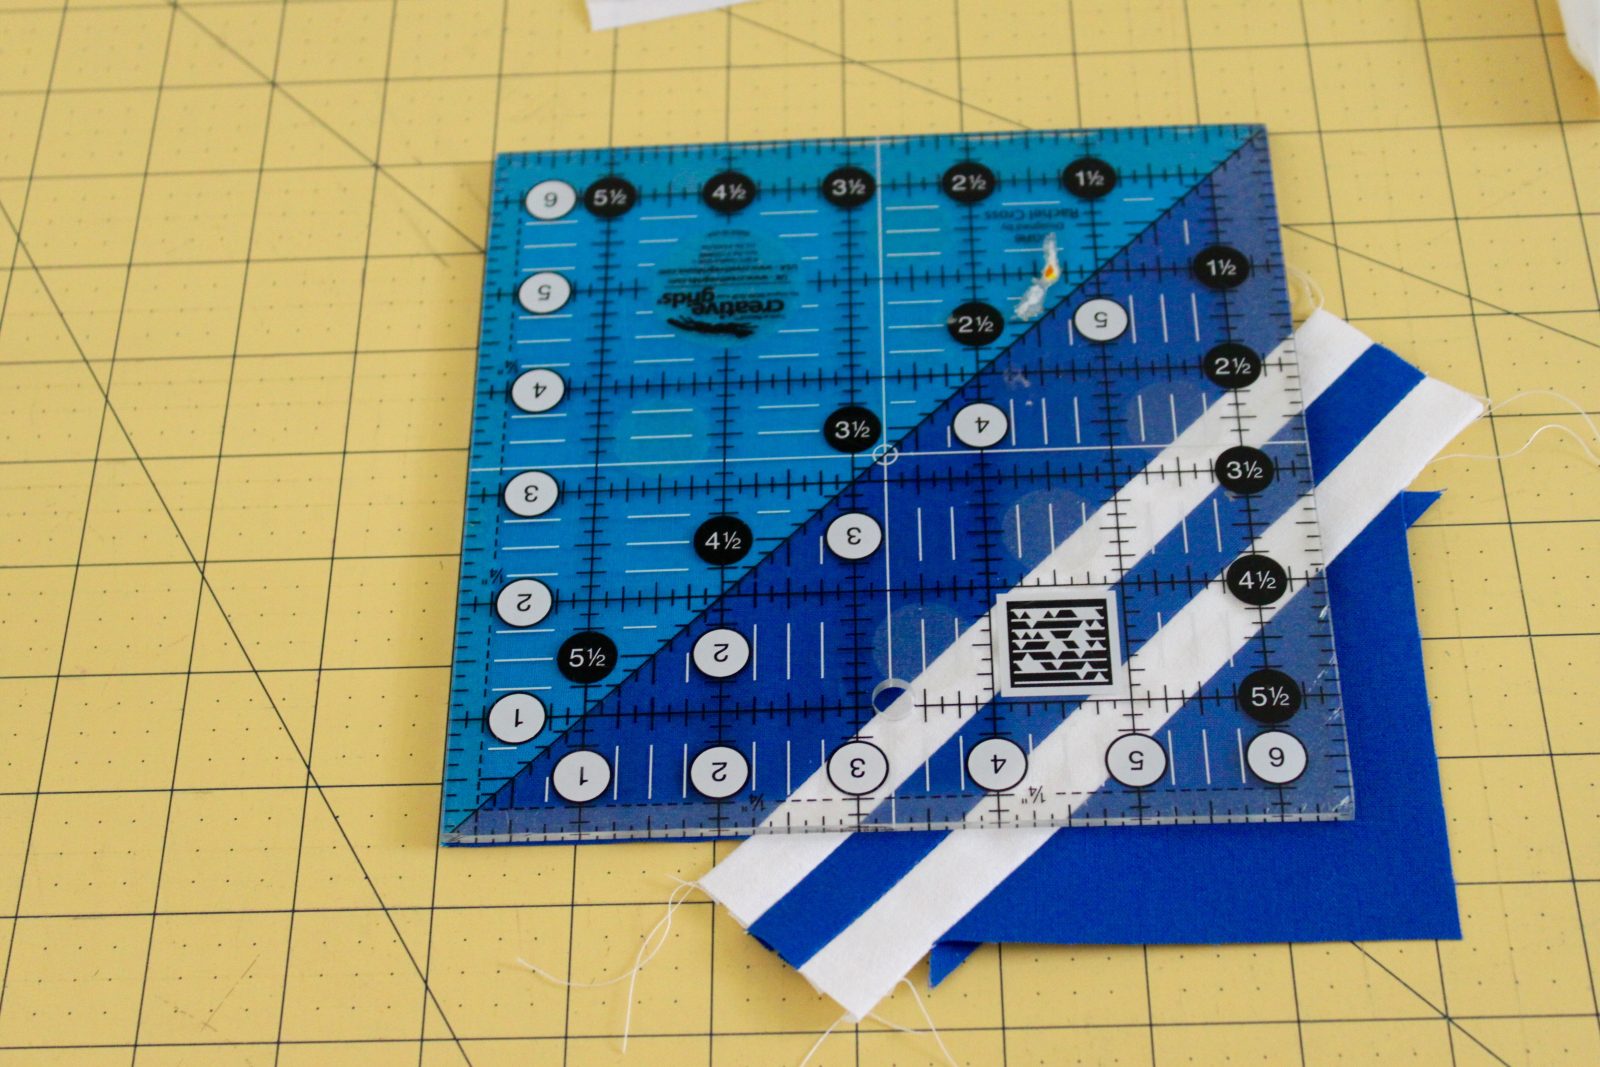
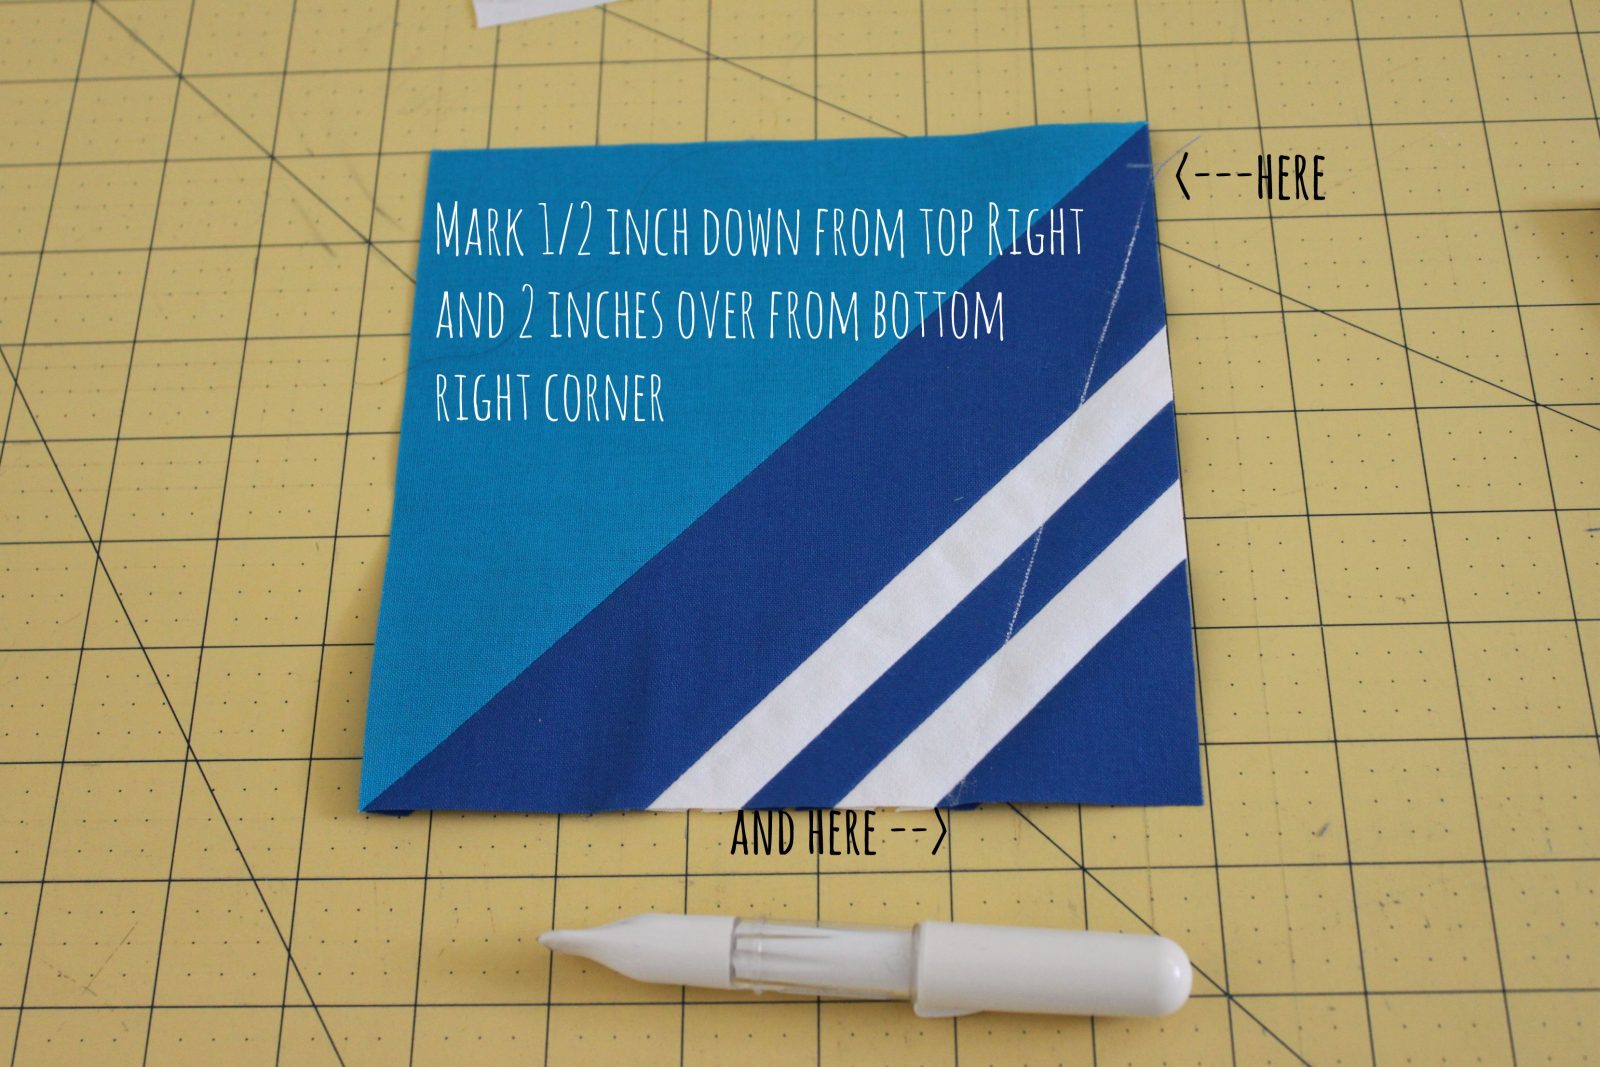
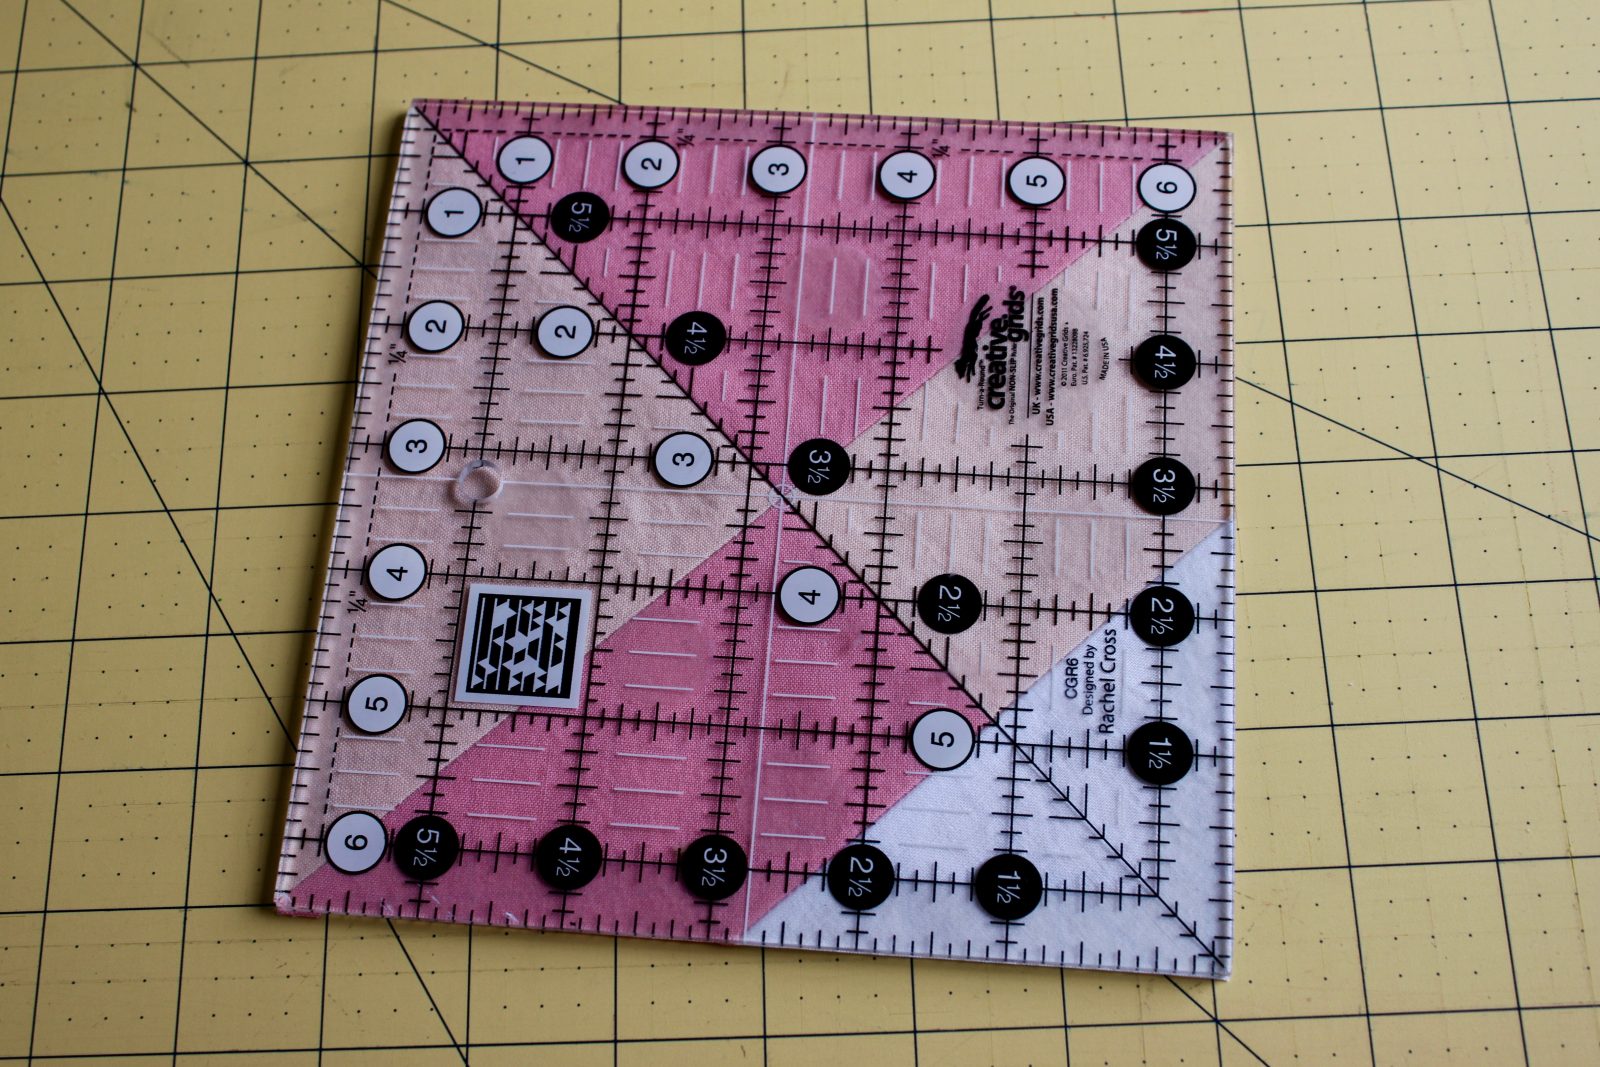
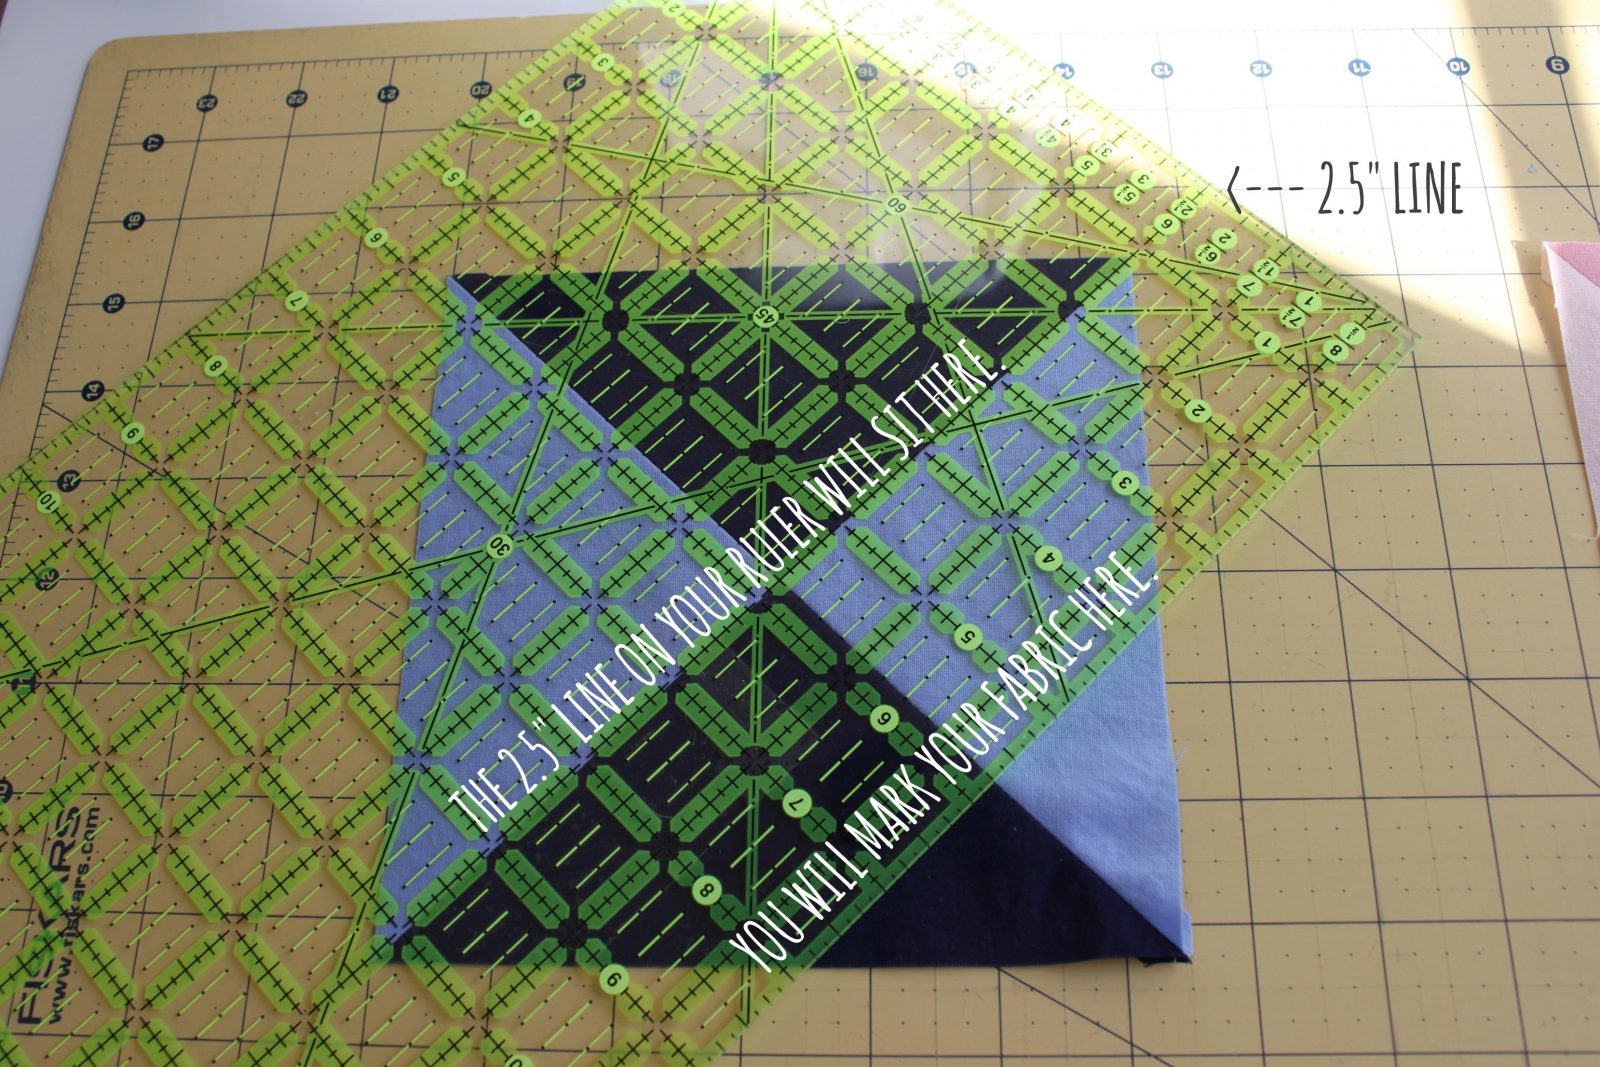 Find the 2 1/2″ line on your ruler, and place it on the center seam line of each hourglass block. Mark the diagonal line. Make sure before cutting that all of your diagonal lines meet to form a diamond.
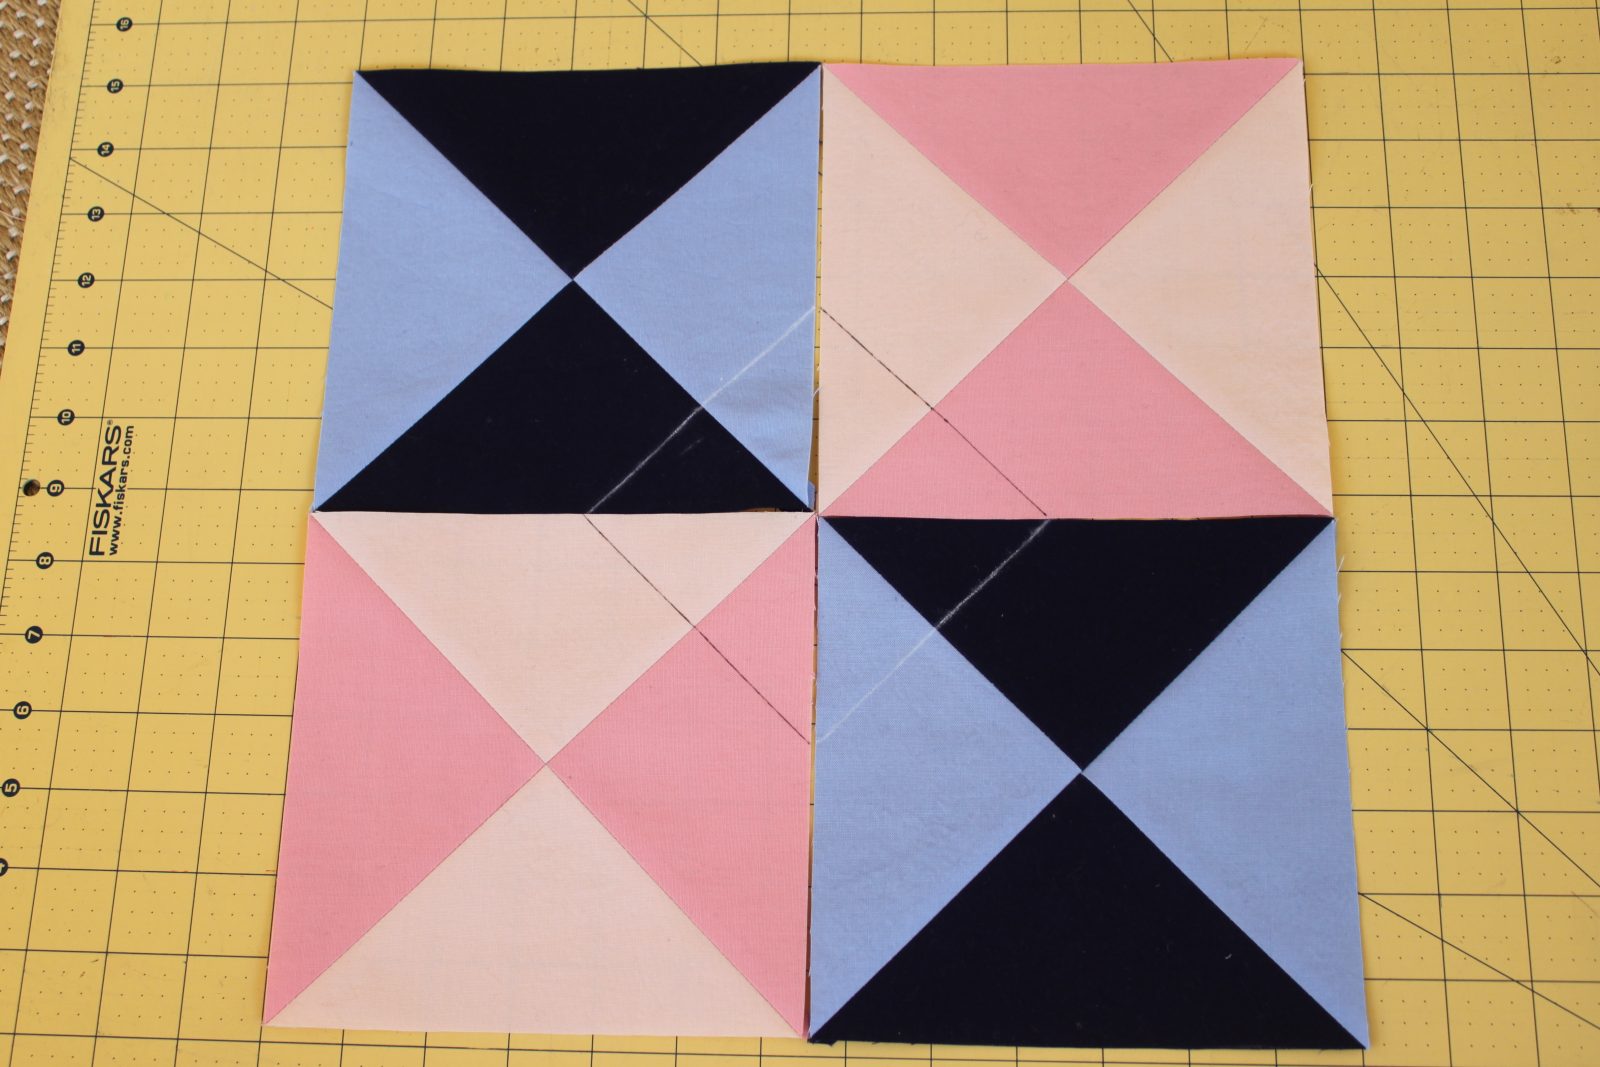 Cut on the marked lines.
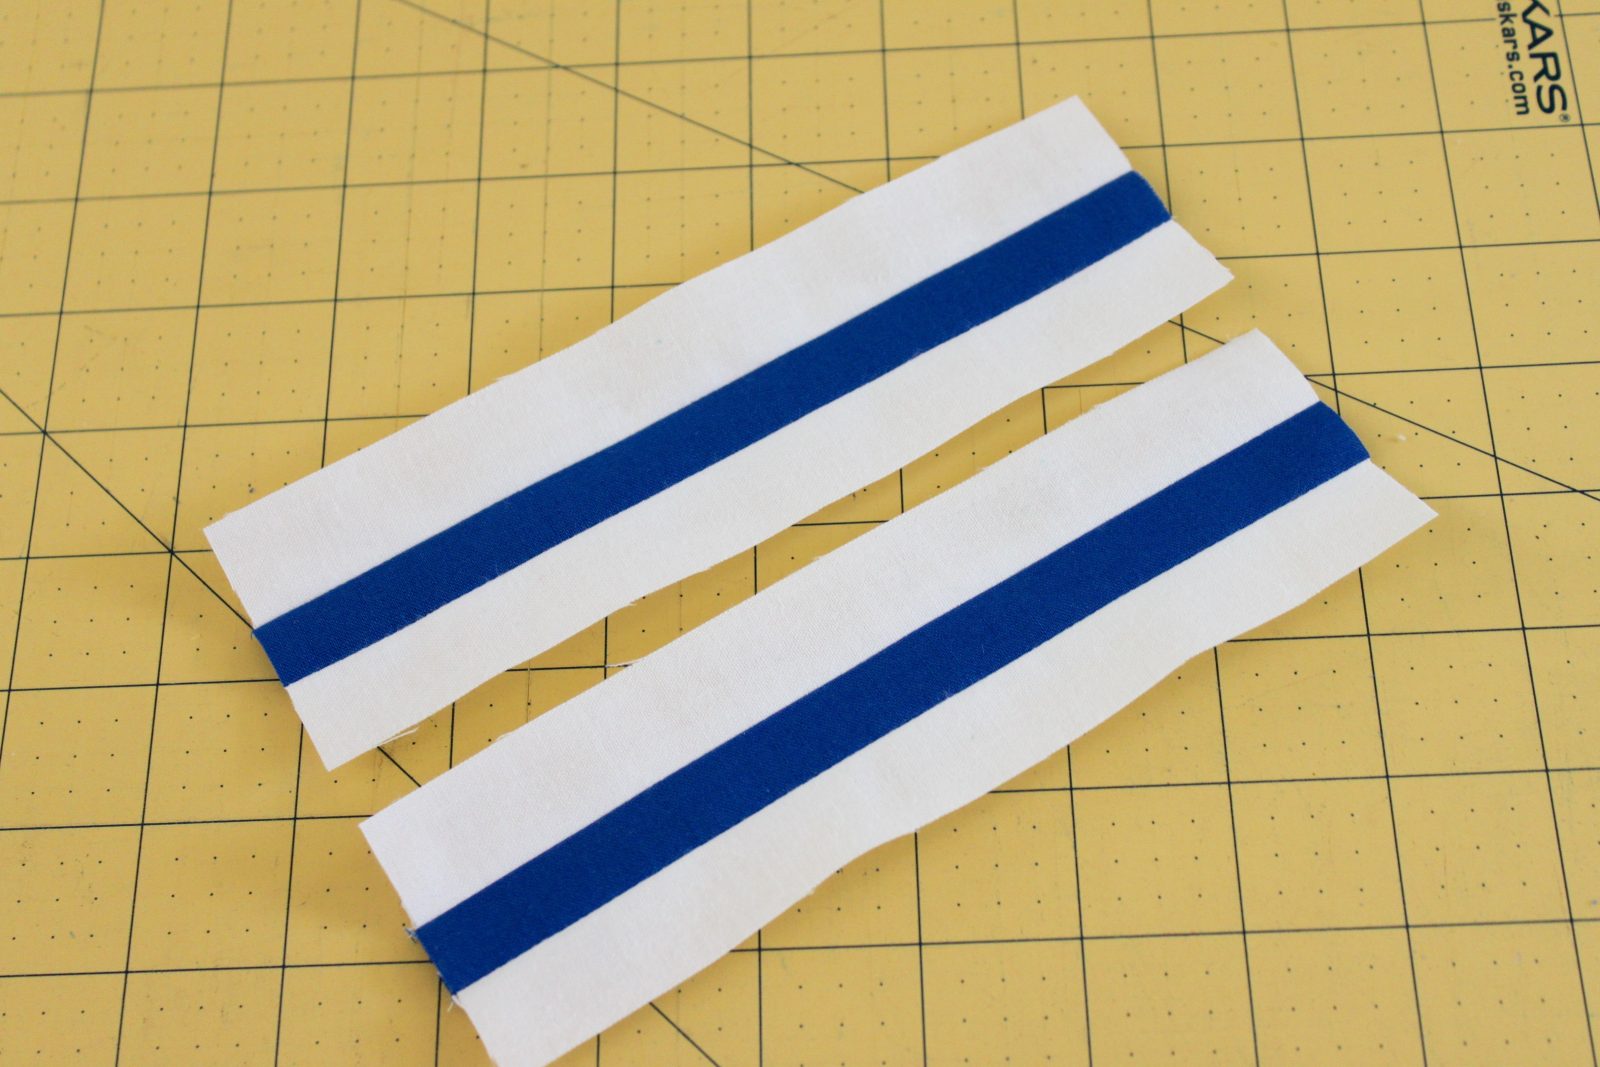
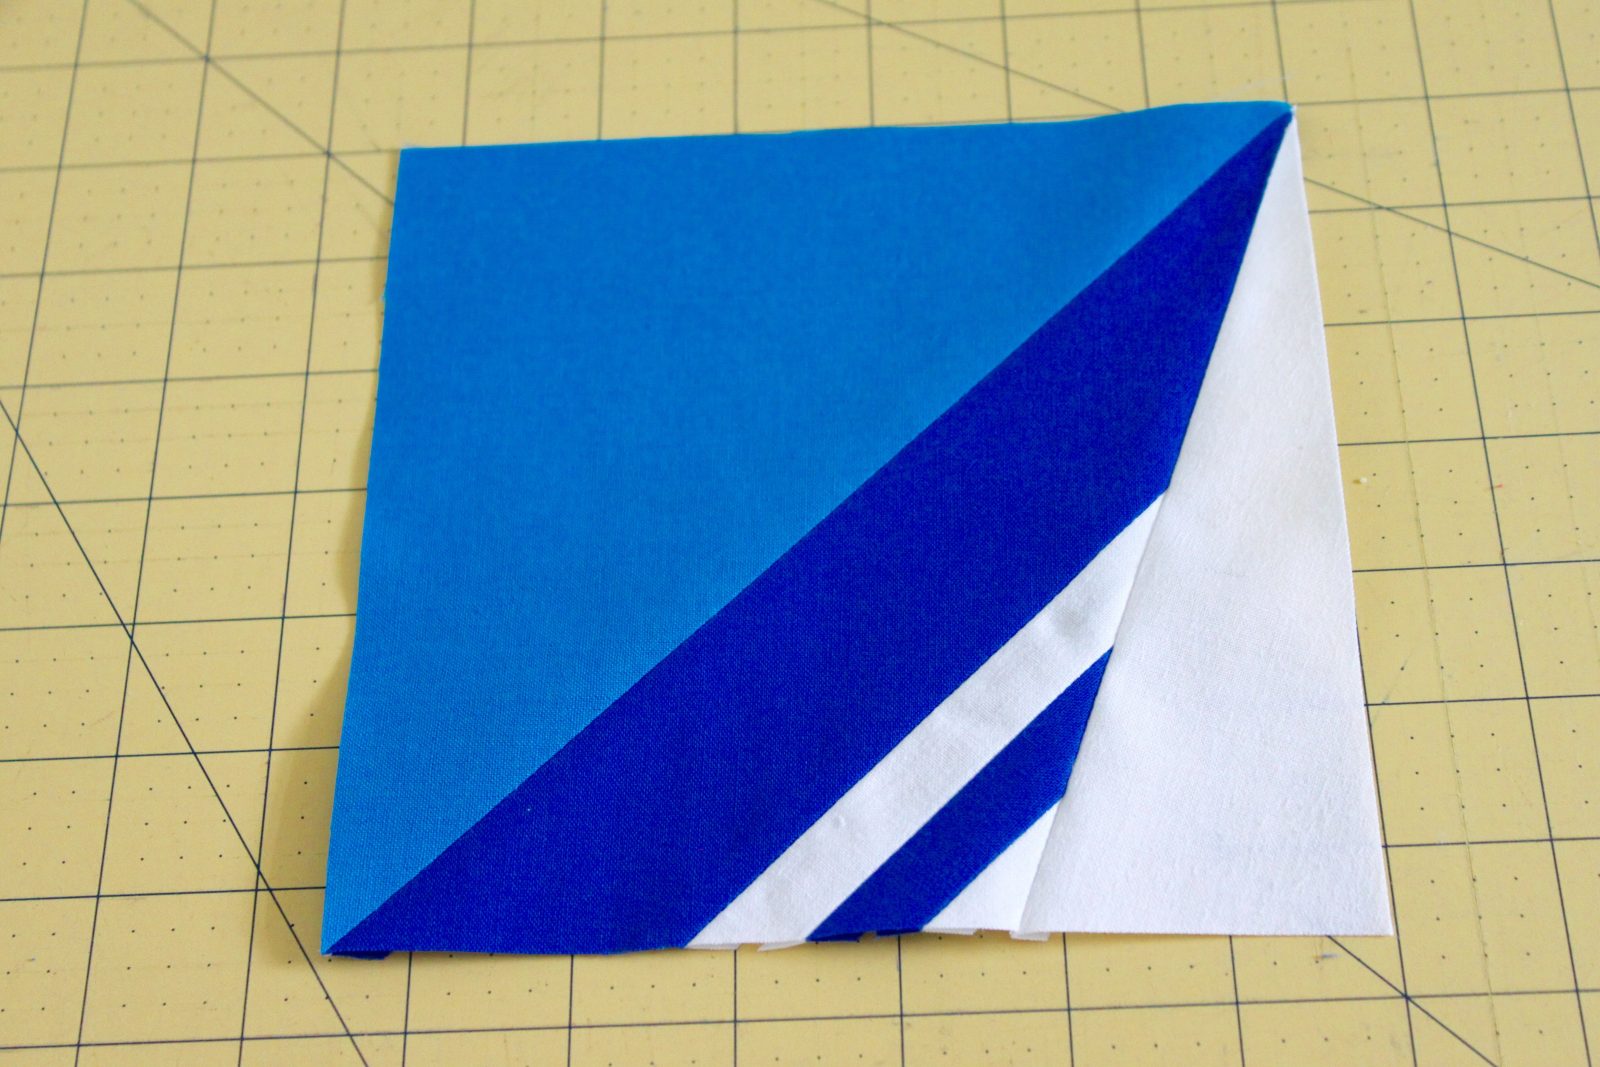
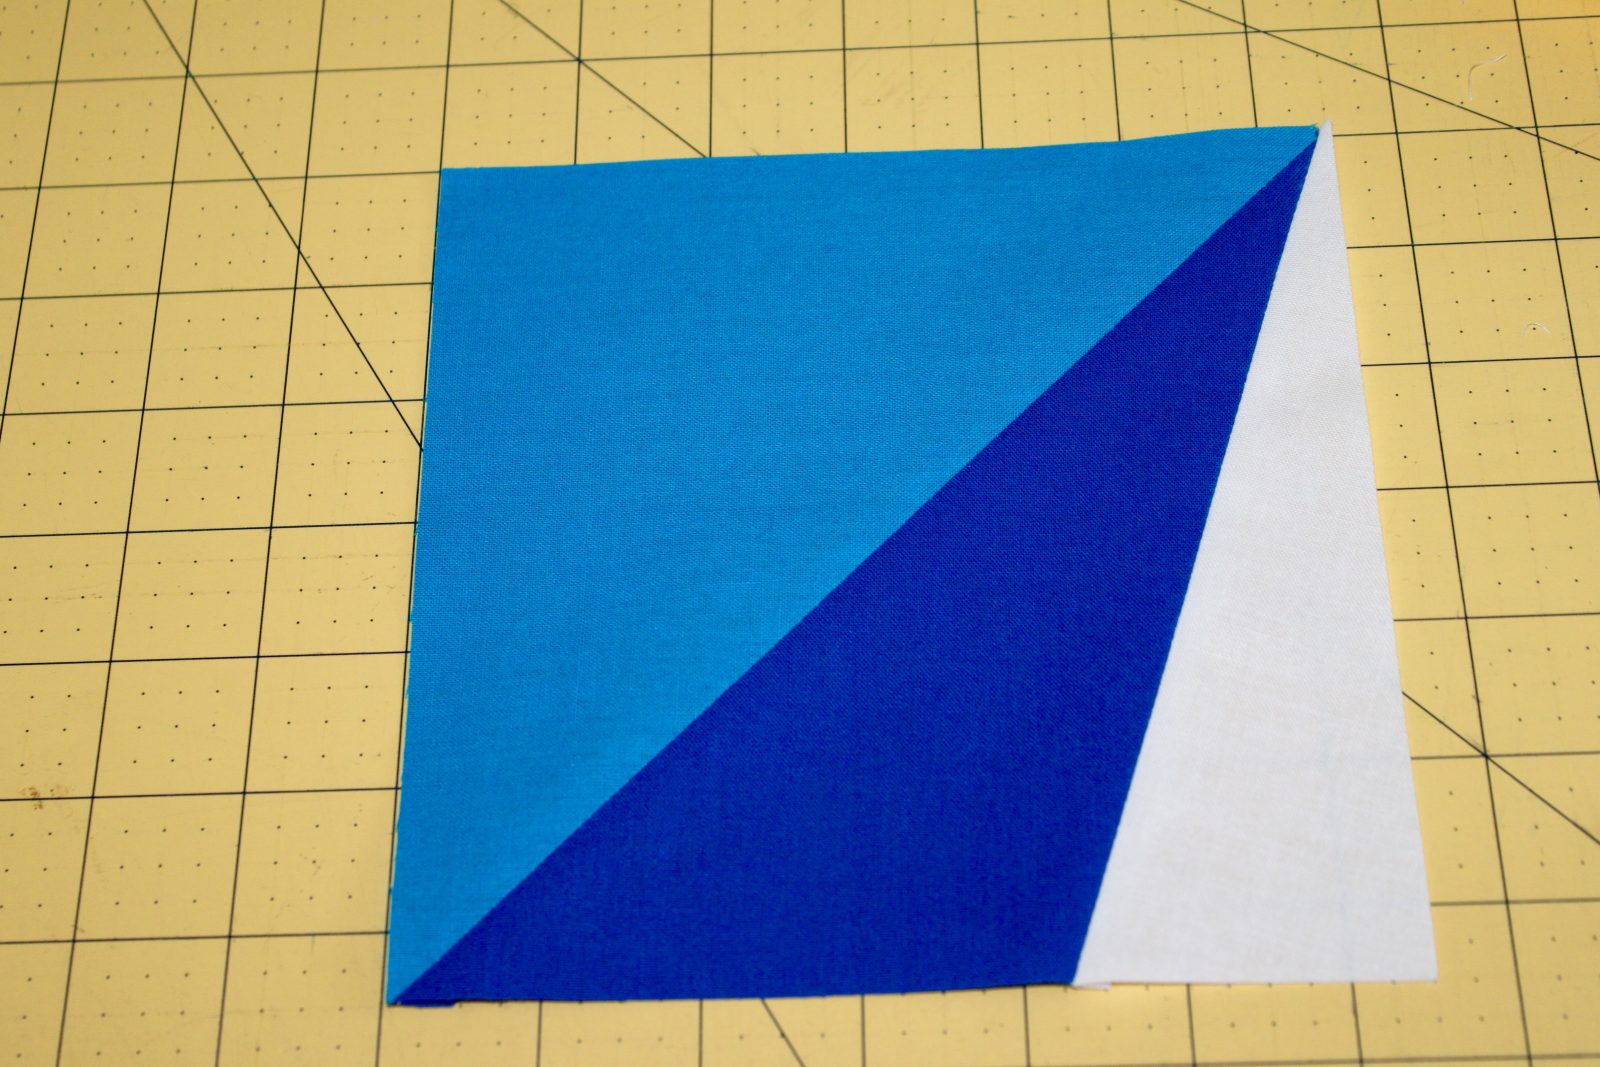
Step 4: Cut and attach the white triangles.
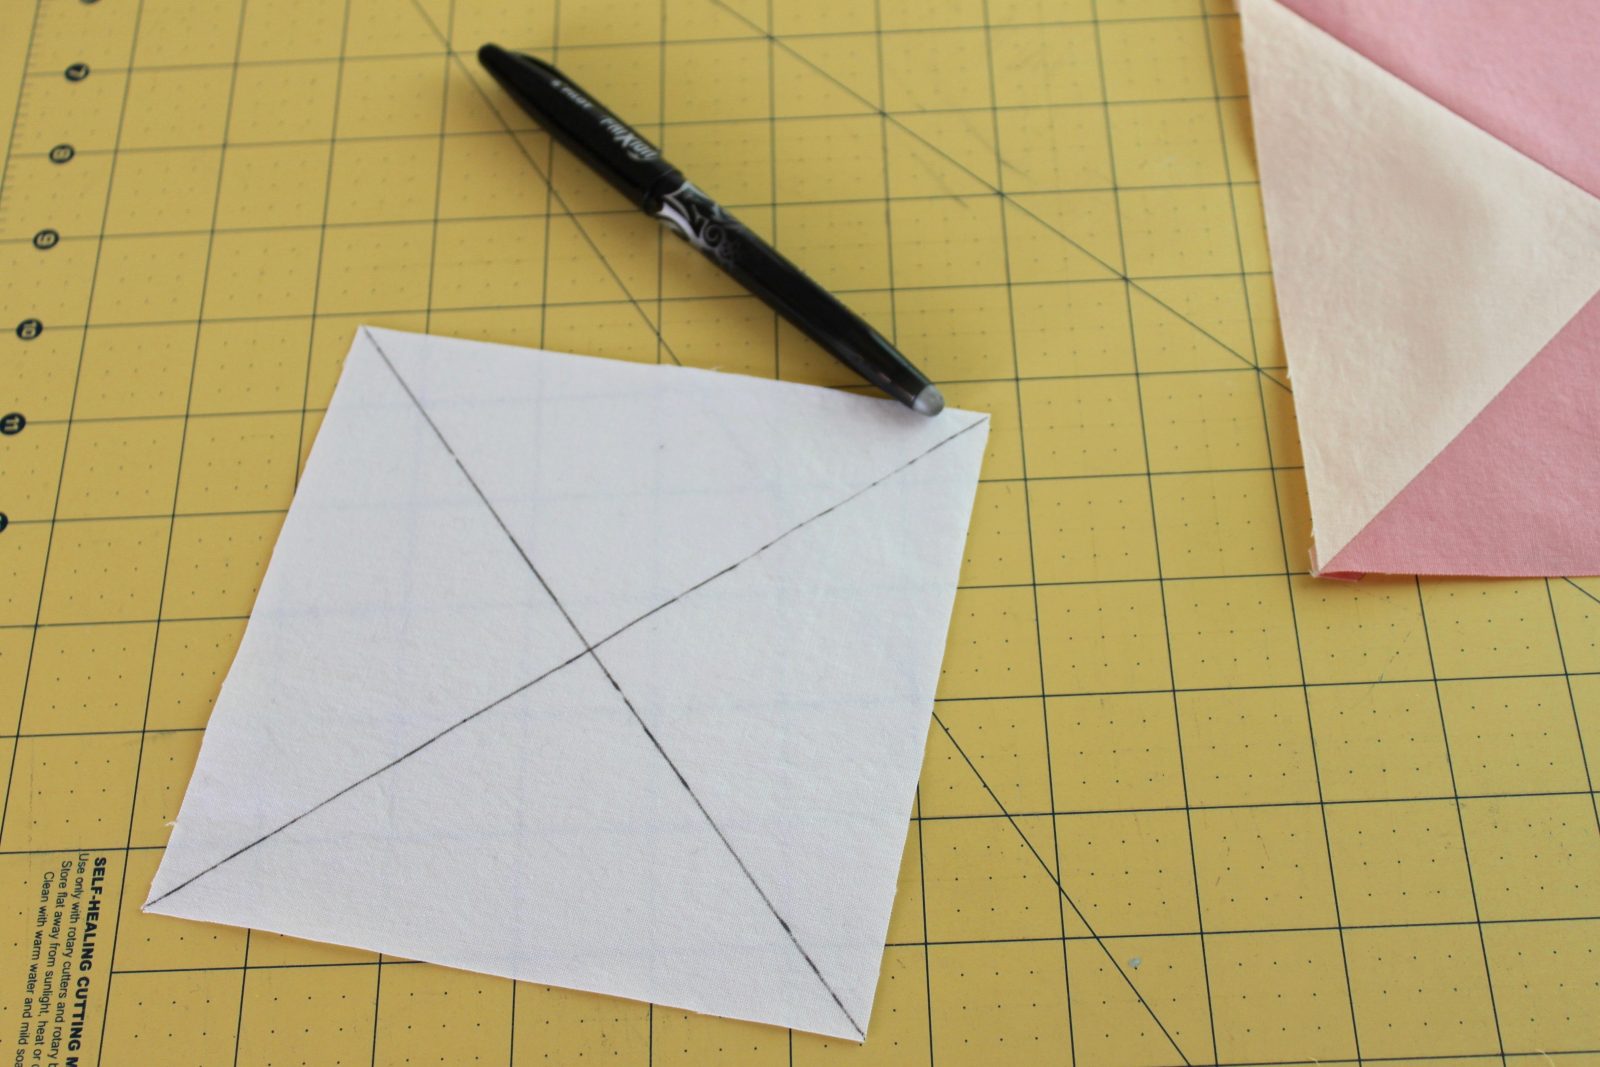 Mark your White square across one diagonal from corner to corner, and then do the same across the other diagonal. Slice the White square on the marked lines so that you have 4 triangles.
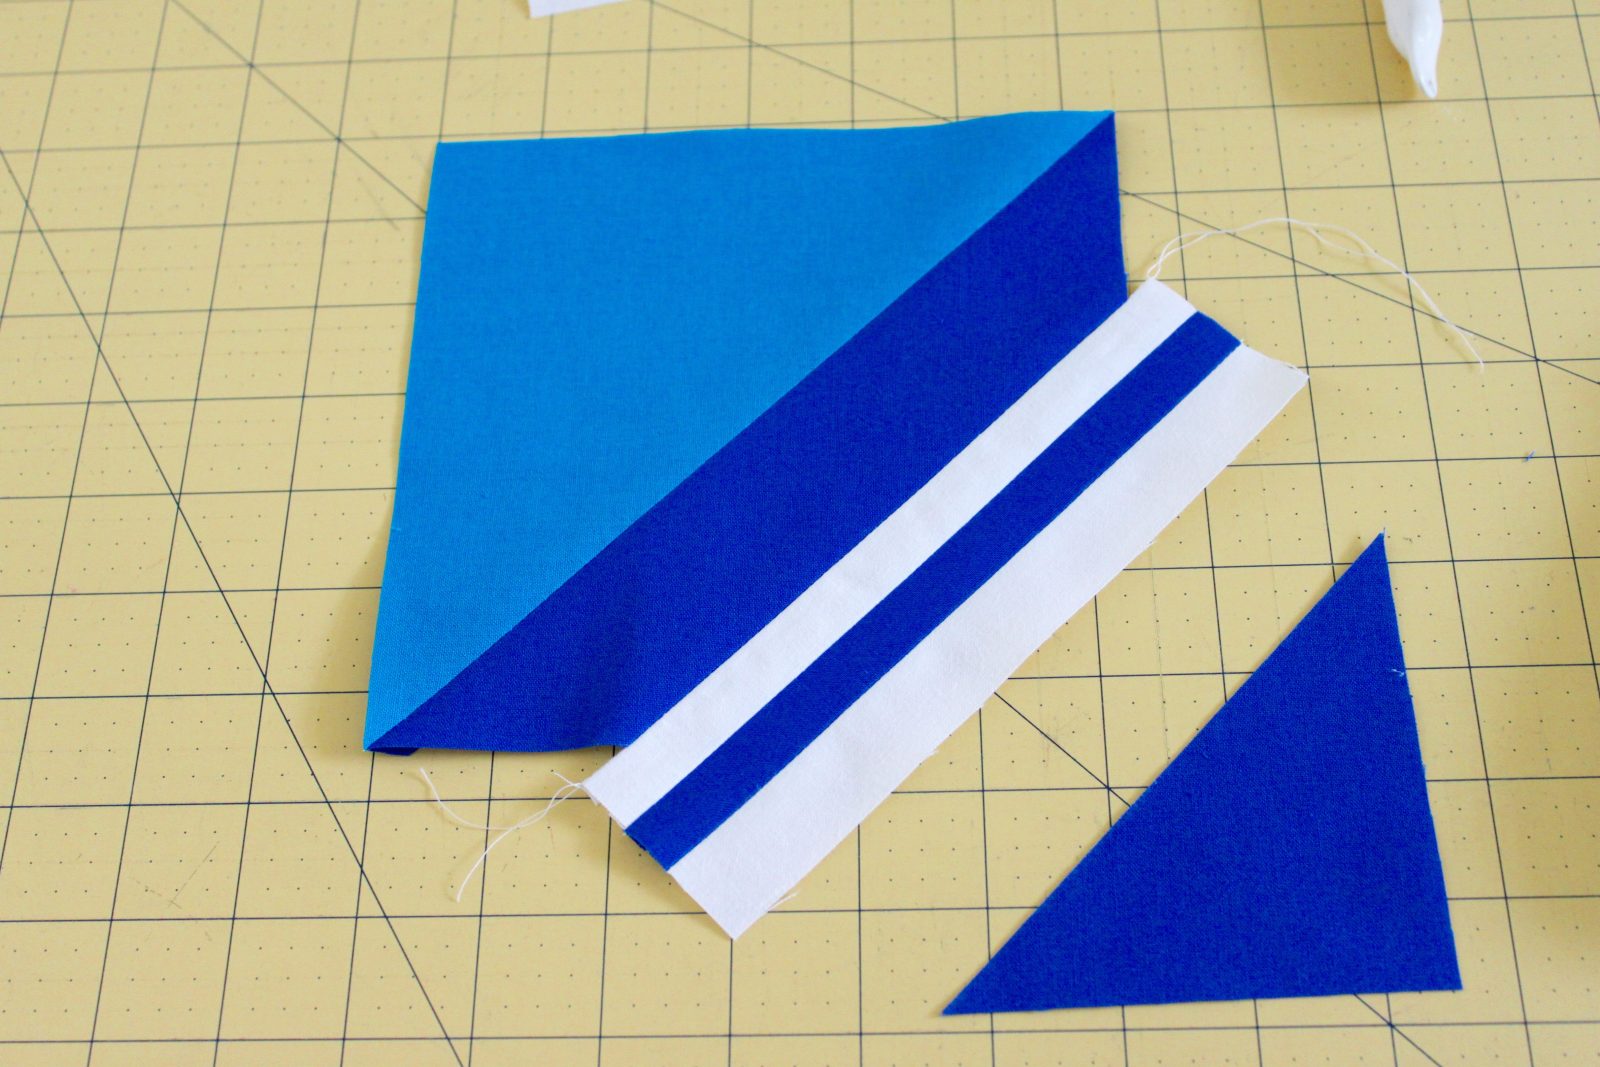
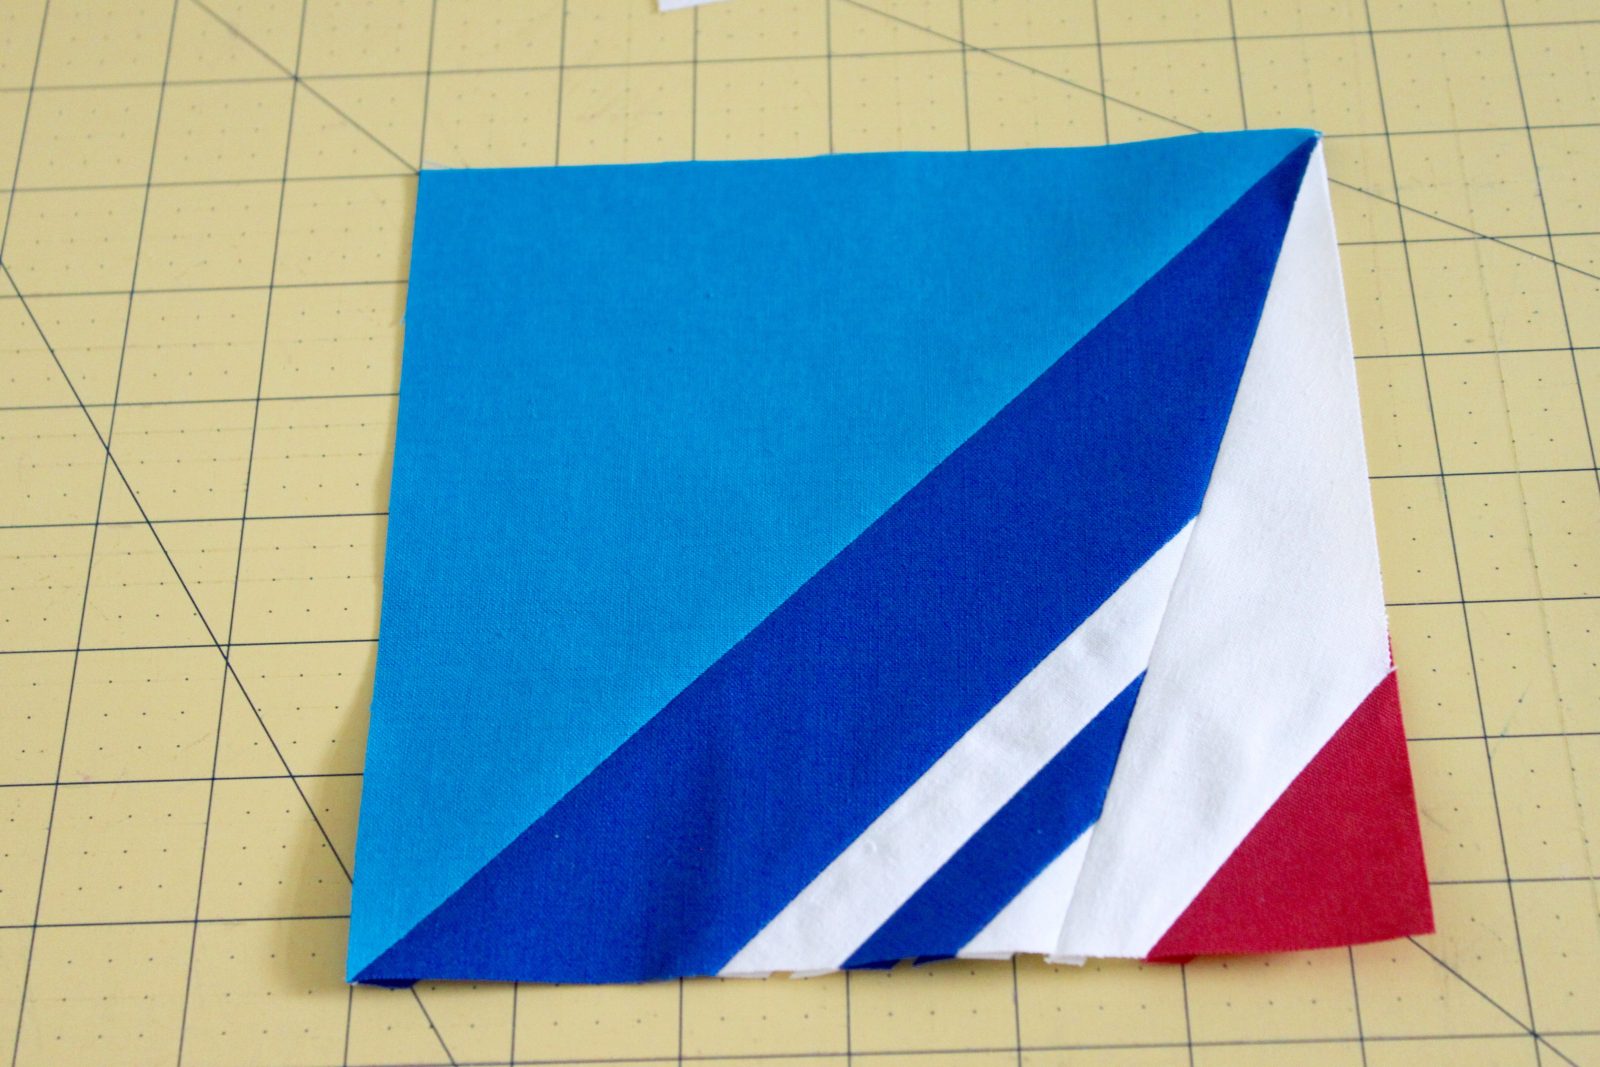
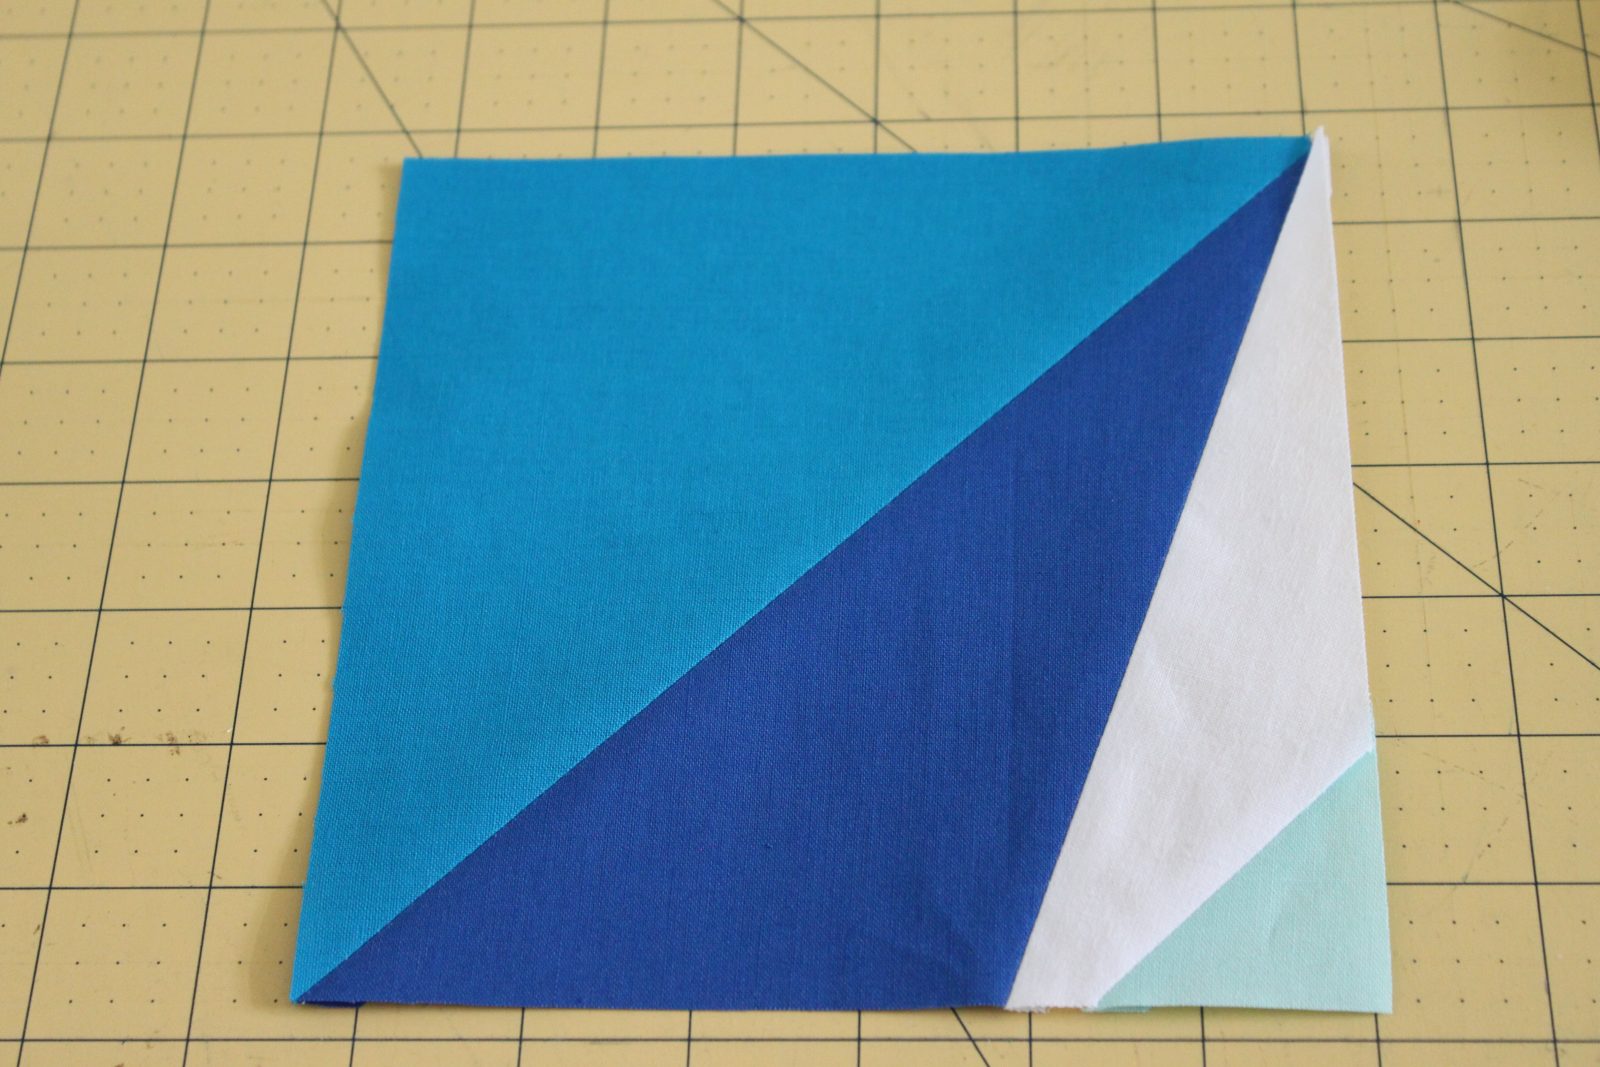
 Attach a triangle to each of the hourglass blocks on the cut edge.
Press seams open and square up the block to 6 1/2″.
Step 5: Assemble the block.
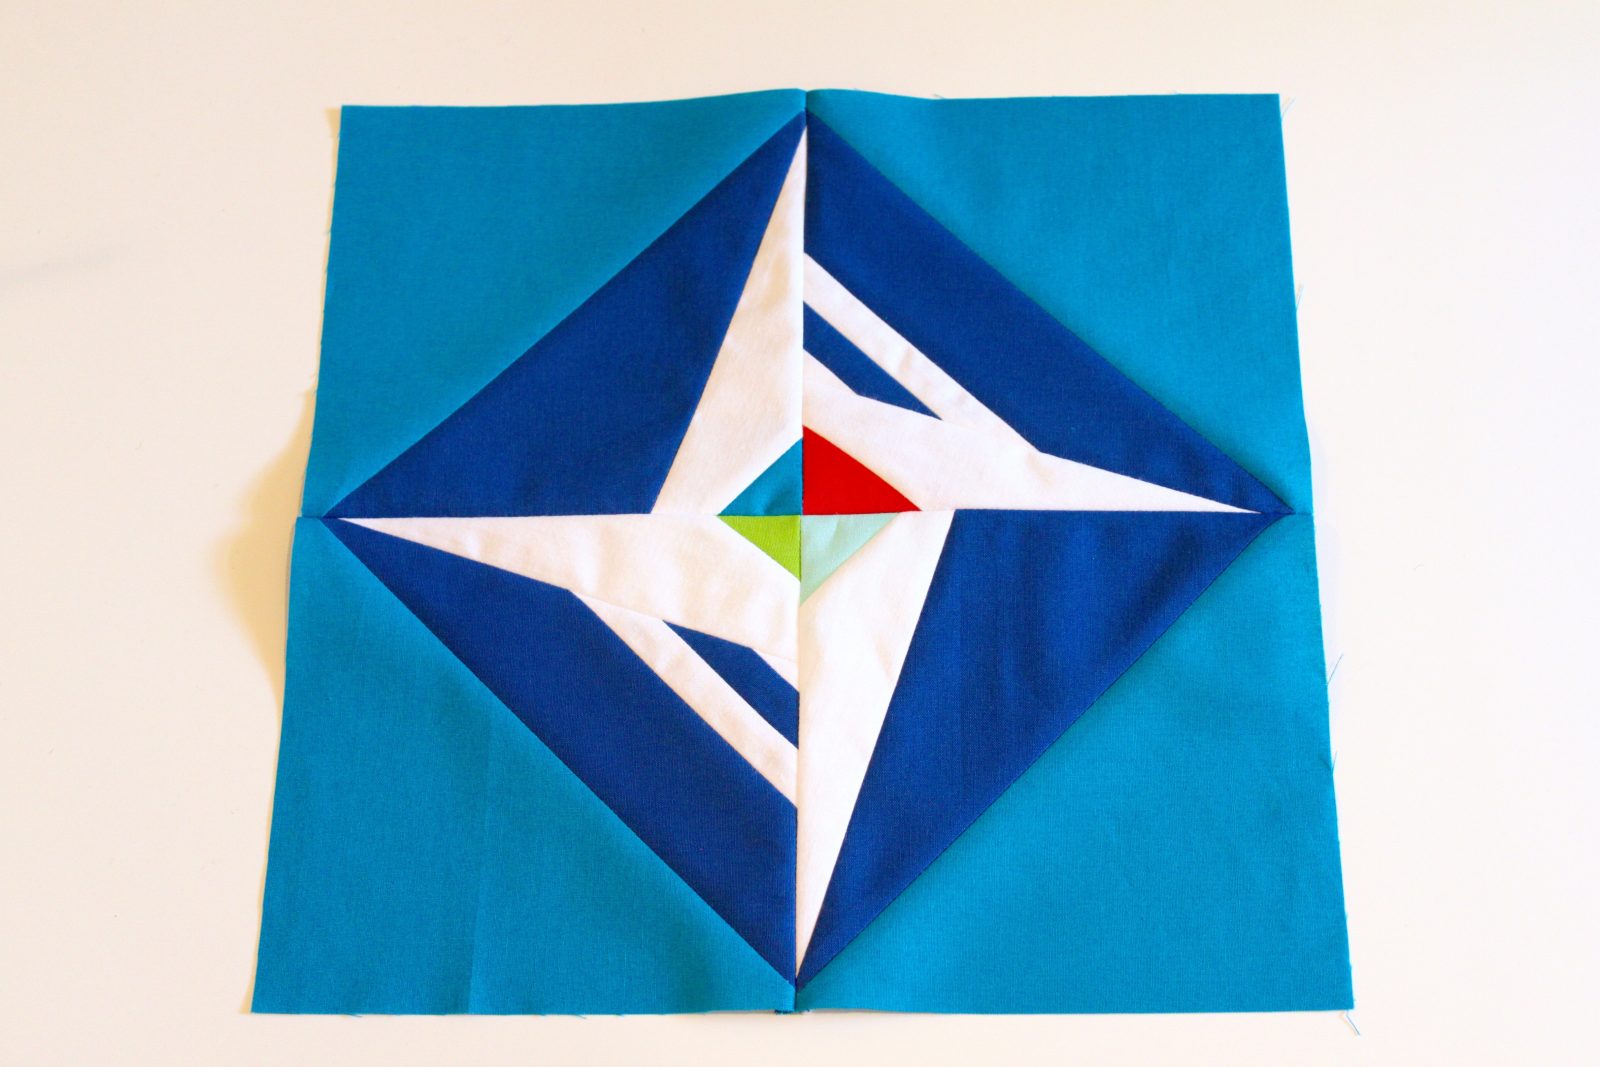
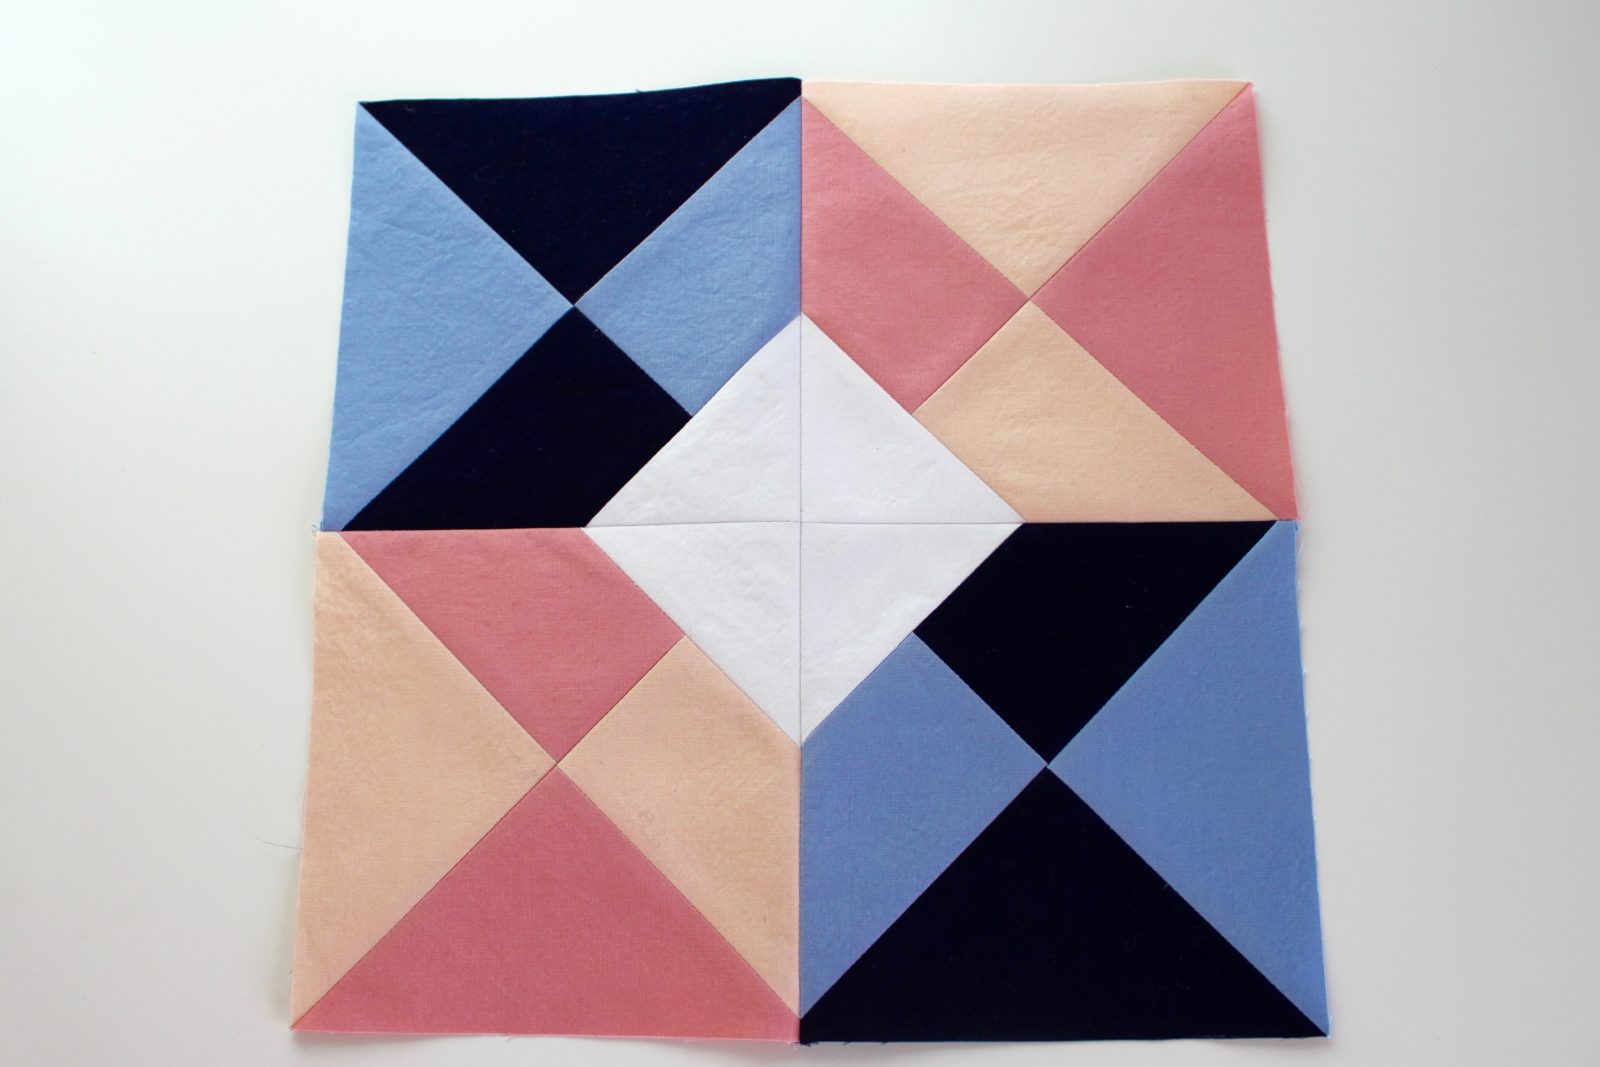
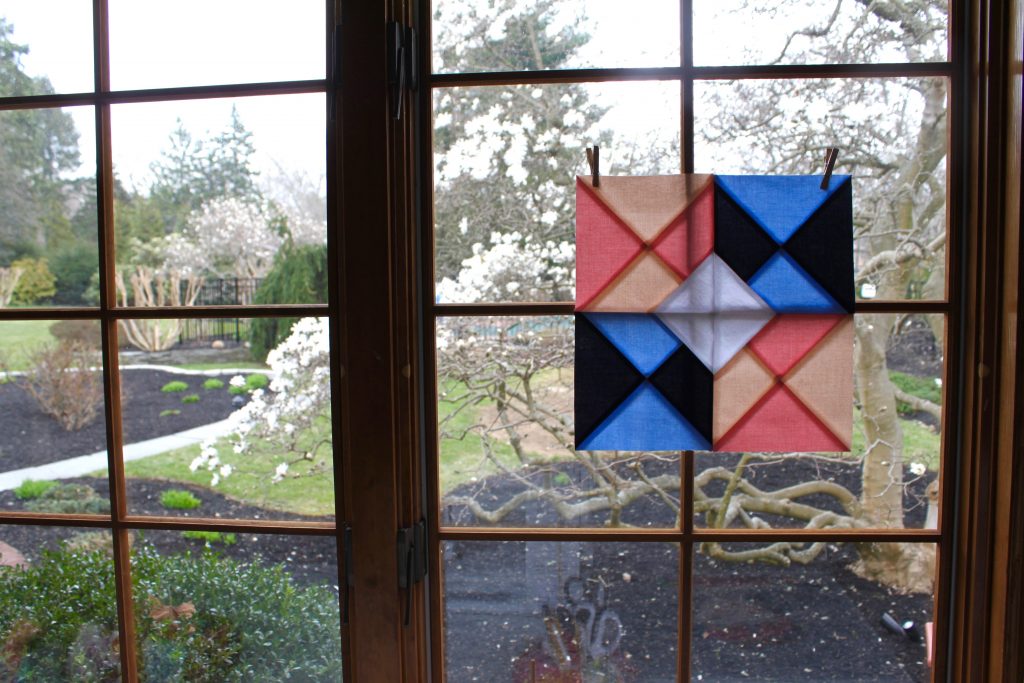
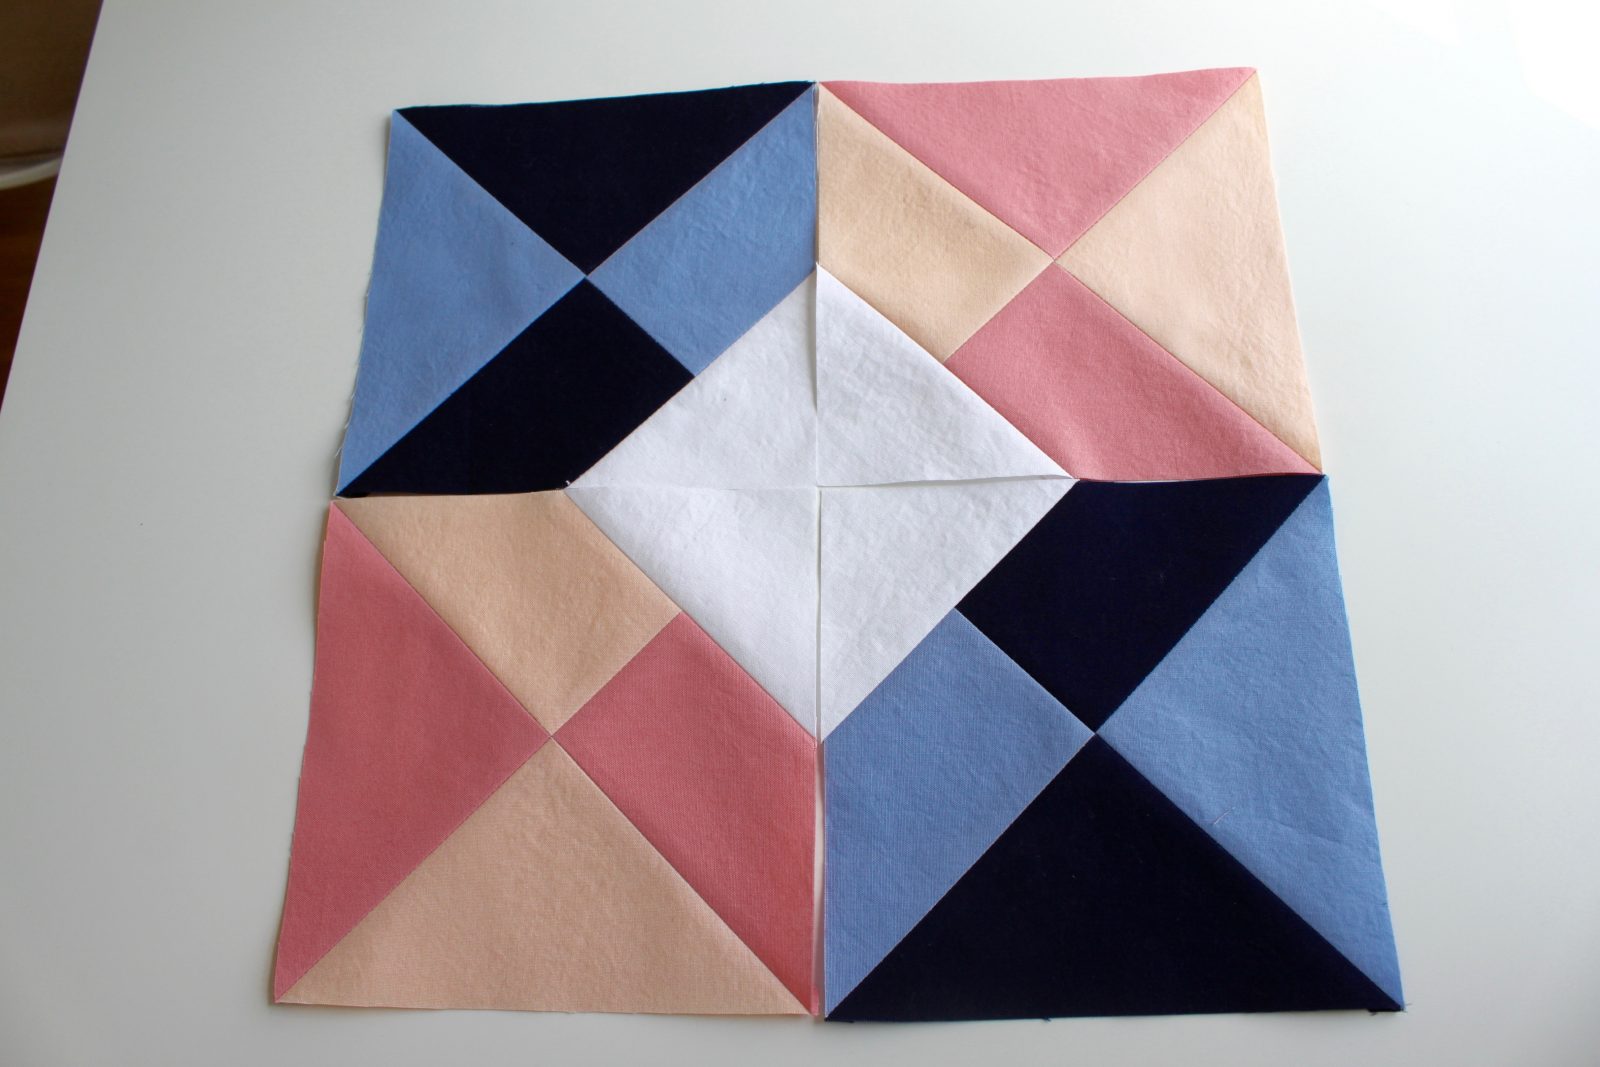 Using your quarter inch seam, attach all four hourglass blocks so that the White triangles meet in the center to form a diamond, and the matching hourglass blocks are diagonal from one another.
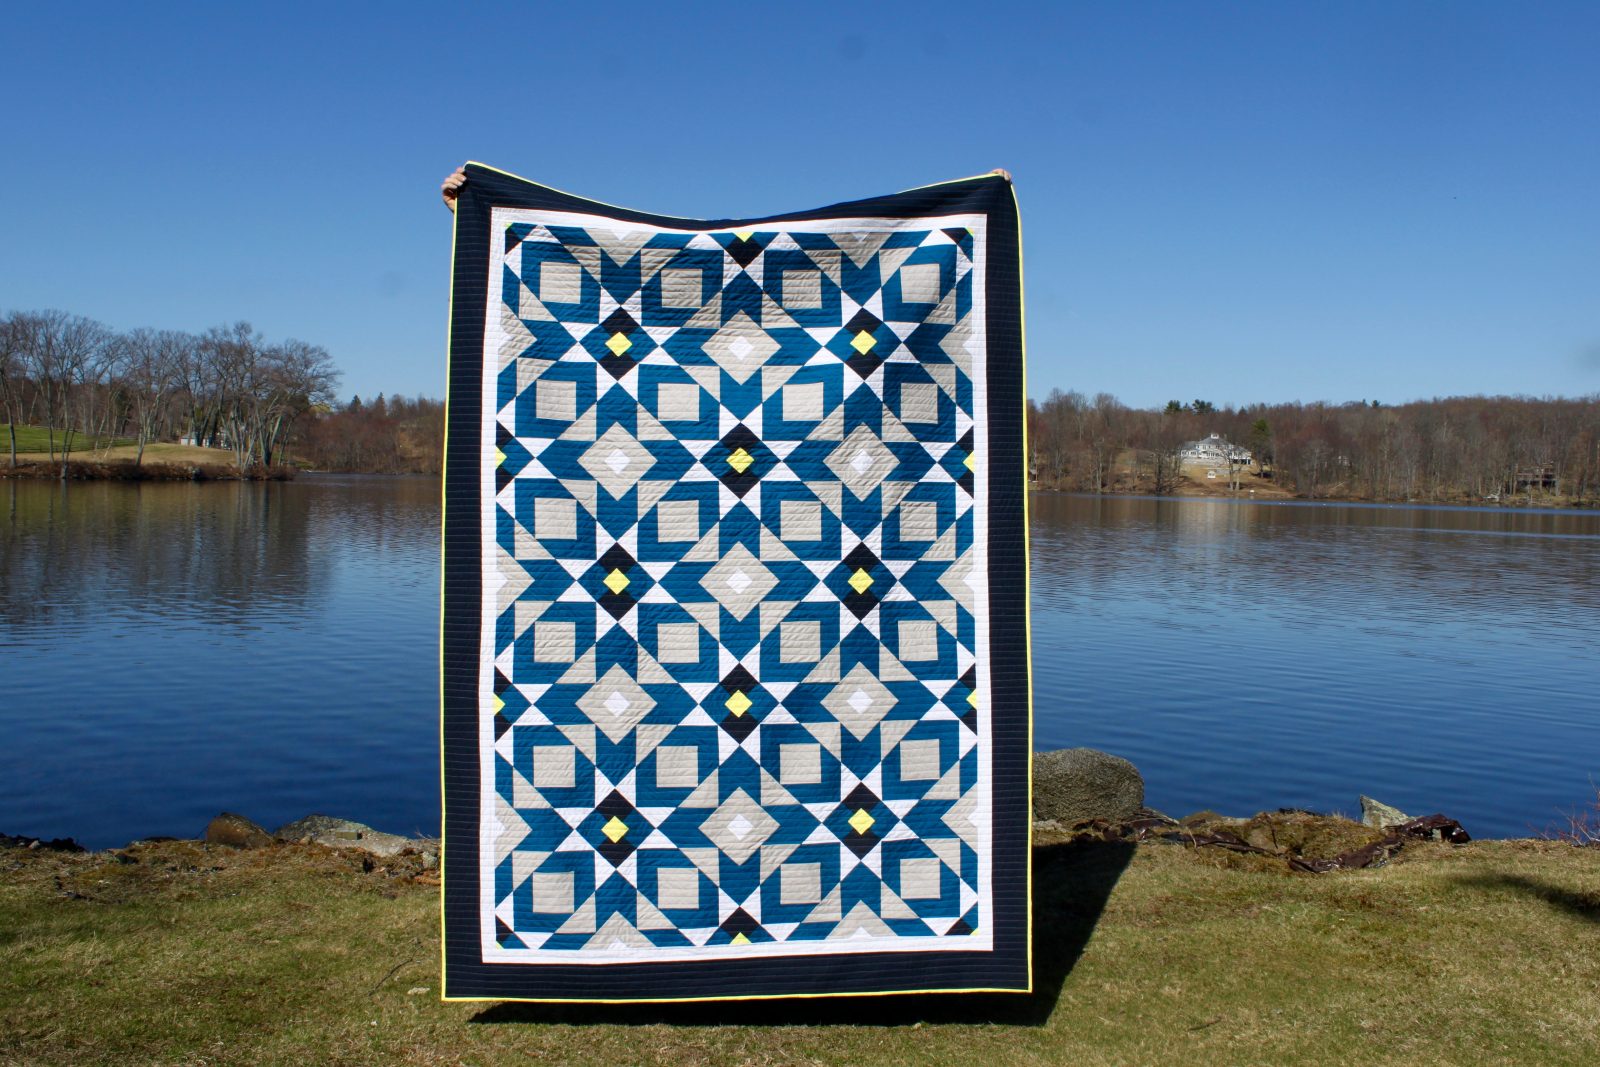
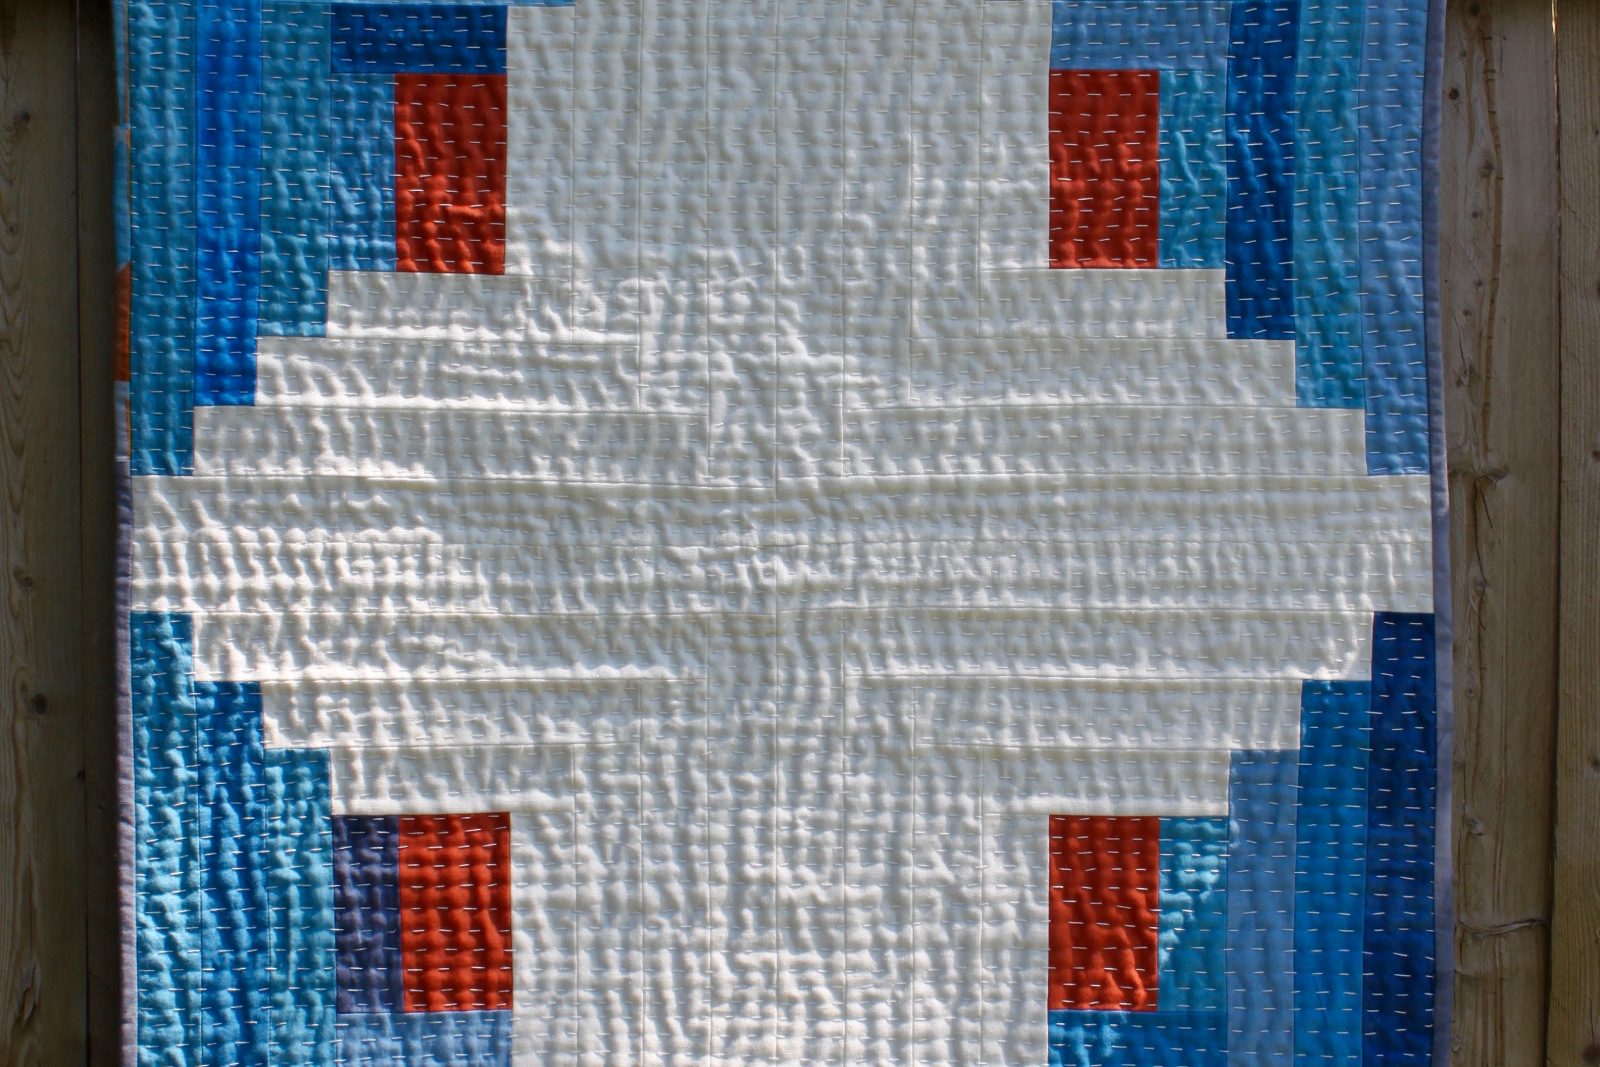
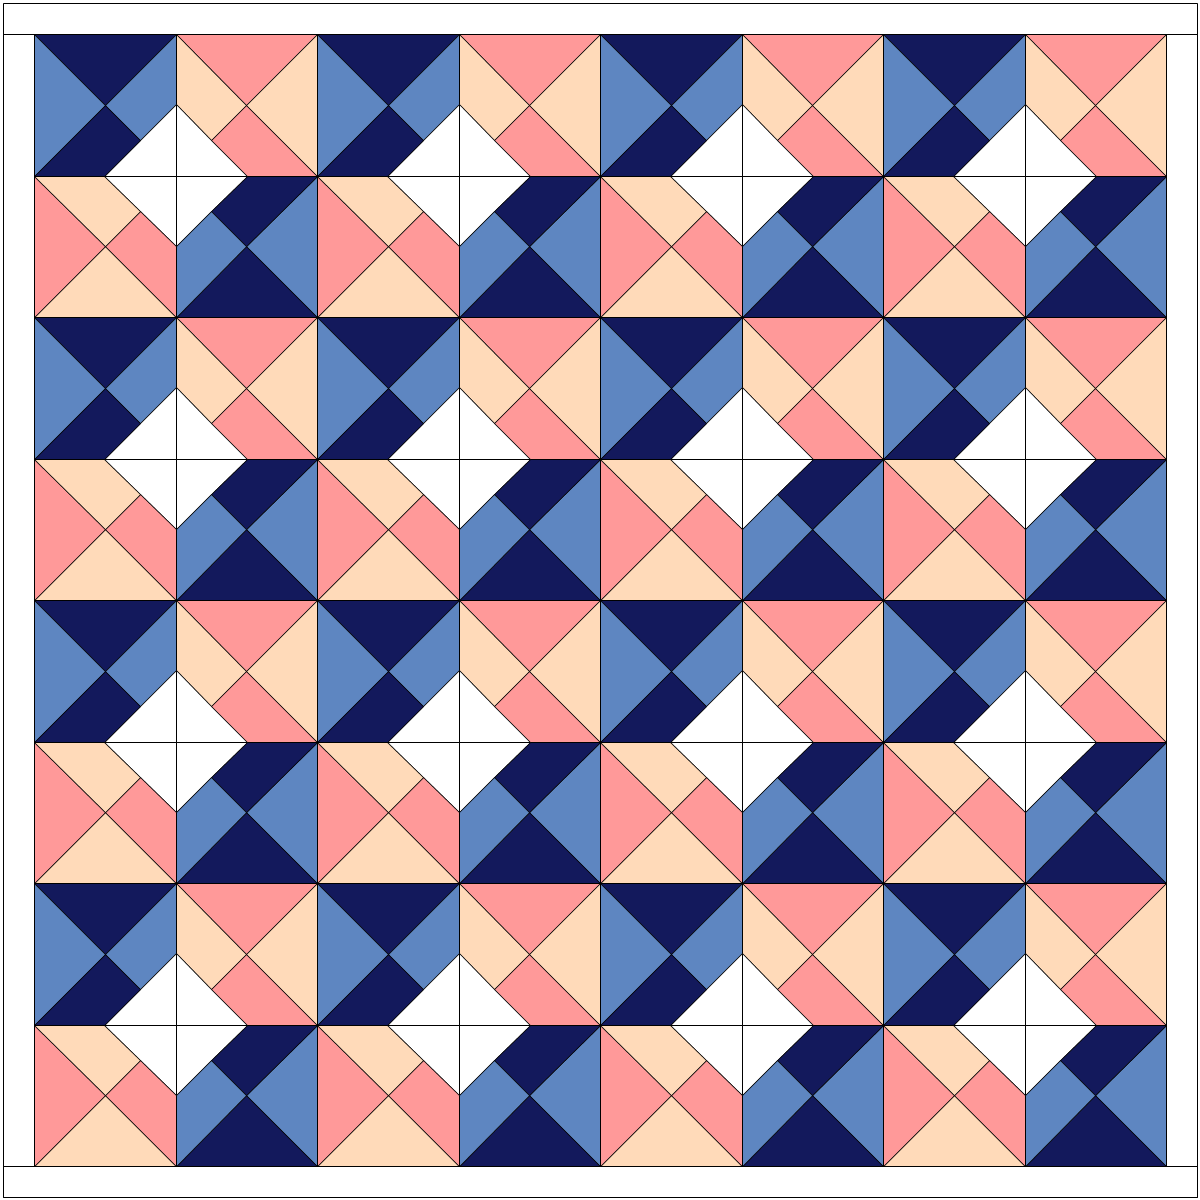
And you are done! So easy! And if you’d like to see the layout as a whole quilt, I’ve got you covered:
I hope you’ve enjoyed this tutorial, and I appreciate you stopping by! And now for a giveaway!
Giveaway

For a chance to win a half yard bundle of the Ocean Sunrise palette, please follow the Inspired by Fabric blog (either by email or blog reader) and leave a comment for Yvonne at Quilting Jet Girl. For a second entry, follow Paintbrush Studio on Instagram (@pbstudiofabrics) and let Yvonne know about it in a second comment. The giveaway is open to everyone (international entries inclued), and the giveaway will be open through Friday, April 1st at 11:59 pm EDT. Good luck!
Please make sure to visit all of the other bloggers participating in the block hop (listed below). And a huge thanks to all of our hosts: Yvonne @Quilting Jet Girl, Cheryl @Meadow Mist Designs, and Stephanie @Late Night Quilter.
Host: Cheryl @Meadow Mist Designs
Kim @Leland Ave Studios
Andrea @The Sewing Fools
Cassandra @The (not so) Dramatic Life
Stephanie @Quilt’n Party
Irene @Patchwork and Pastry
Tish @Tish’s Adventures in Wonderland
Abby @Hashtag Quilt
Sarah @Smiles Too Loudly
Carrie @The Zen Quilter
Wanda @Wanda’s Life Sampler
Jayne @Twiggy and Opal