
 It’s been a long-time dream of mine to have a kitchen garden. For the past almost 10 years, we’ve belonged to a CSA where we pick up locally grown organic veggies once a week for half the year. And while we absolutely loved being a part of the community, it also wasn’t the same as having fresh vegetables right outside our kitchen door. But with young kids I didn’t feel like I had the time or energy to make the garden of my mind a reality, so we waited until we felt a little more ready.
Trial Run
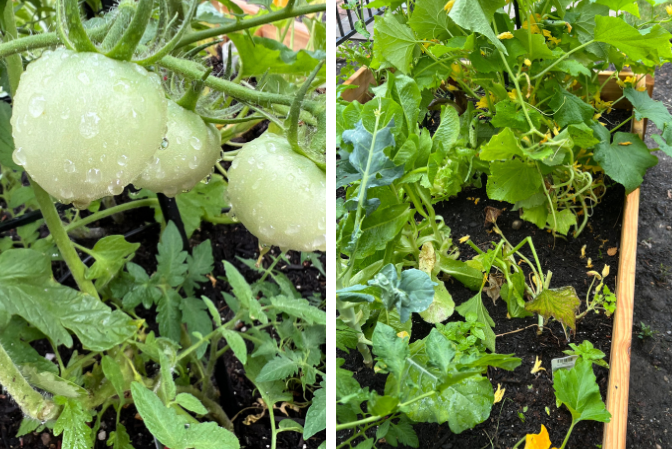
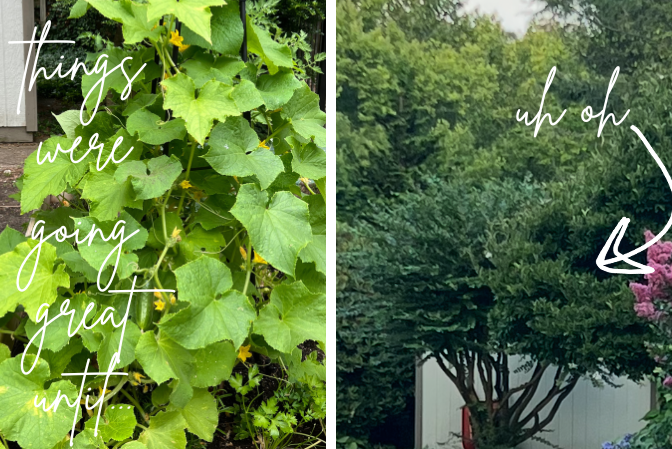
Last year, we purchased one raised cedar bed as a trial for our kitchen garden. We planted it in a sunny spot that seemed ideal for plants like tomatoes, cucumbers, zucchini and basil. And it was perfect — until it wasn’t! What we didn’t plan for was the crepe myrtle that sat next to the bed to suddenly bloom in late summer and effectively block out all sunlight to the garden bed. Suddenly our thriving garden was not so thriving.
Lesson learned!
So this year, while we loved that tree, we realized it needed to go in order for our dream of a garden to become a reality. And before you stress about the tree, please know we have five other crepe myrtles in the yard and we have no intention of touching any of them. This tree just happened to be in the only spot that we could place our raised beds — and sometimes there has to be trade offs.
This Year’s Plan
Got the boys to help me oil the bed with linseed oil after I sanded it down. And yes, we did get oil stains all over the bricks. Oops!
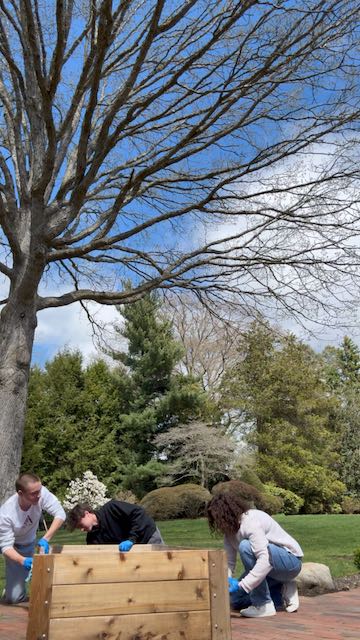
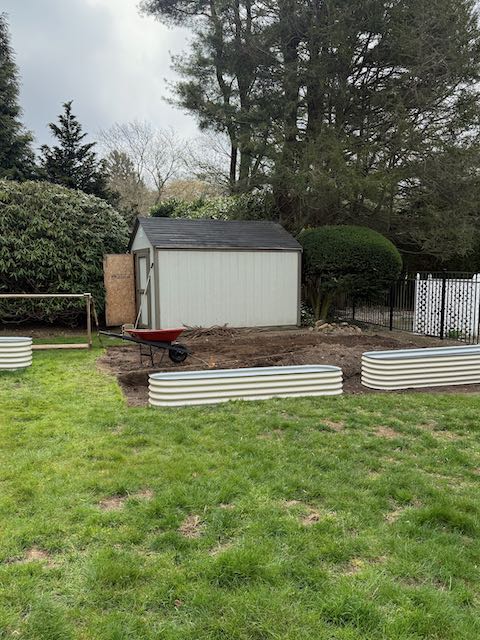
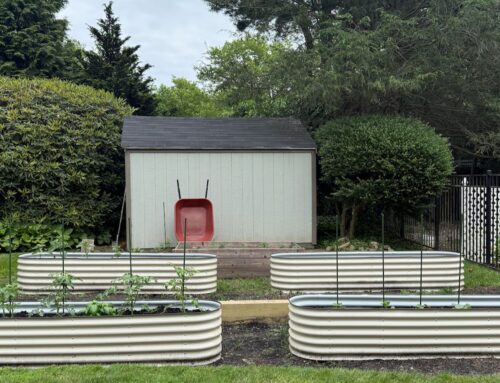
After having a cedar bed for a year, I realized that I didn’t want the maintenance of having to sand and oil multiple beds for them to maintain their color. So I purchased four metal beds from Vego Garden, after their instagram ads infiltrated my feed — consider me influenced! They were relatively easy to assemble and lightweight, so on a cold April day we assembled them in our dining room and waited for warmer weather so we could get to work.
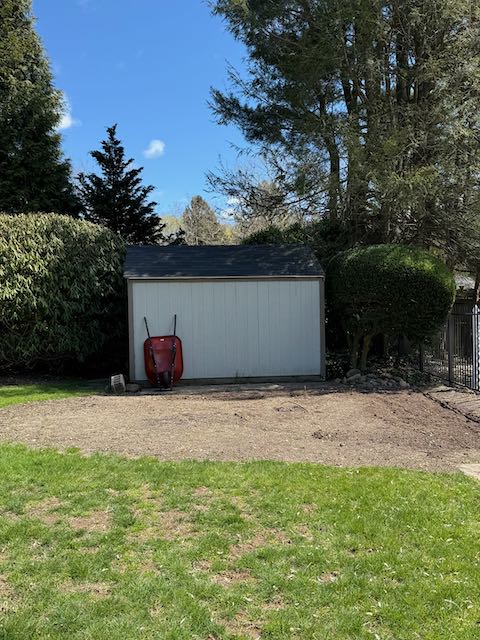
You can’t really see it here, but the grade of the slope is significant.
When we finally got the beds outside I realized that the slope of the yard was greater than I had thought, and there was no way the beds were going to lay flat if we left the land as is. And while tilted beds might not sound like a problem, in researching I found that it creates uneven distribution of water and can really impact the fertility of the garden. I didn’t want that, so I got to work.
Do We Really Need Tiers?
I went out of my way to research options so that we wouldn’t need to create a terraced garden which would require a step (i.e. a retaining wall) but there was just no other way to get the look I wanted without it. So I started digging. And digging. And digging. And digging.
The first day I had my boys home to help me, but after that they were back to work and school and I was on my own.
So much dirt. You can’t really imagine from the photo here.
In total, I must have shoveled between 75 and 100 wheelbarrow loads of dirt out of the bed. I did it over the course of two days, and by the end I was sore, exhausted, and a little impressed with myself lol.
What to Do About That Wall?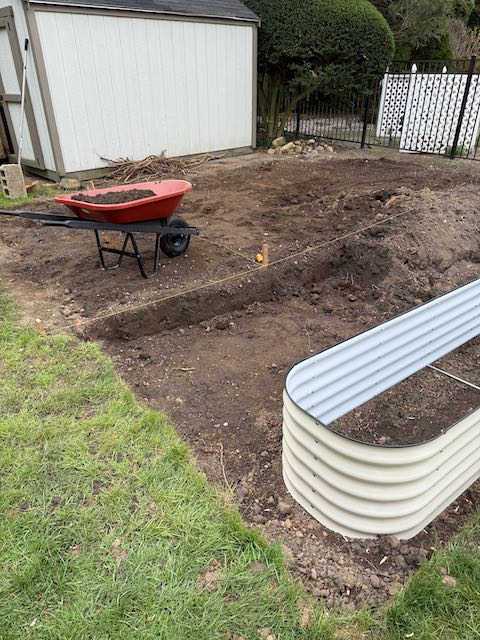
Once I had the entire bed terraced and relatively level I started researching how to best support the step down. Options include railroad ties, a brick wall, cinder blocks, and garden stones. I really would love brick since we have brick in many other parts of the yard, but it would require gravel for drainage, paver sand, laying the bricks, mortar between the bricks — and somehow getting all the materials to my house.
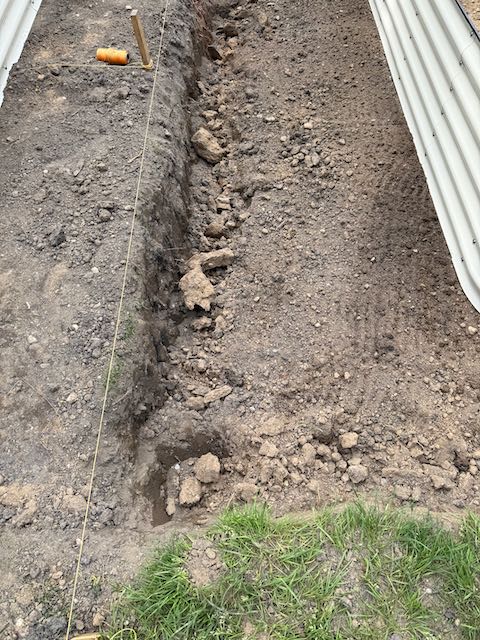
While I am waiting to see just how insane I am, I decided to start digging a trench around the perimeter of the bed, since we will need to add gravel for drainage regardless of what choice we make.
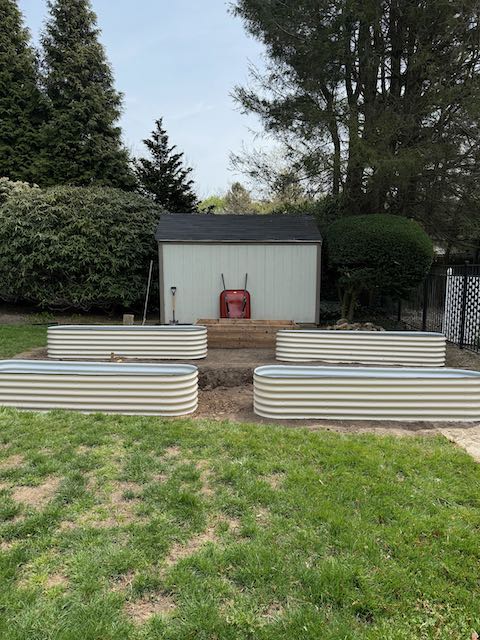
Whatever it is, now I can picture what the setup will ultimately look like and I can start planning where I will plant certain herbs and veg! I’m excited, even if I have no clue what I am doing! And if you have any tips, I’d love to hear them, so please leave a comment!
Related Posts

One Comment
Comments are closed.
[…] You might remember that our backyard is on a slope, and so in order to get the garden beds to lie flat I needed to tier the garden area. This was a task I (mostly) took on by myself, moving heaps of dirt from the garden bed to level the space. Once the bed was dug out, I wanted to build a retaining wall to maintain the integrity of the tier, and this was where it got complicated. My plan was to build a retaining wall with bricks. I was going to dig a trench along the side of the retaining wall and then build up the wall with bricks standing on their ends, side by side. Until I realized how many bricks it would take to build a wall for a 20′ x 20′ garden. The answer: a lot. […]